How to use revit for generating animated GIFS
In this construction article, you will learn how to use revit for generating your own animated GIFs.
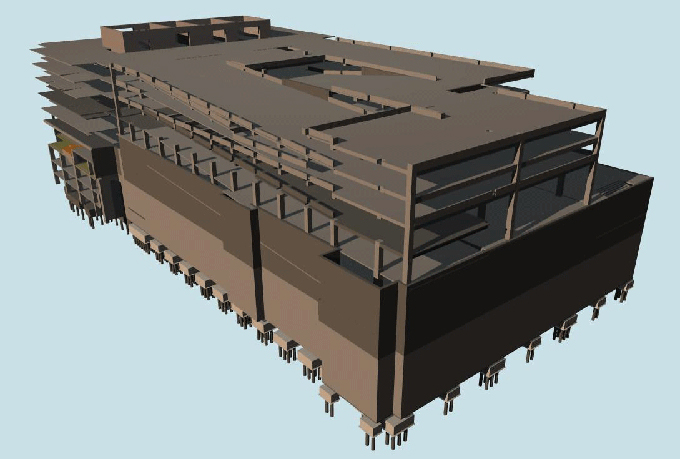
Animated GIFs are most effective while employing a consistent view point and modify something inside the view, as for example the clarity of the elements or the cutting plane of a section box. Here, the cutting plane of a section box is modified in order that the GIF can animate the movement of the section via the building.
Initially, generate the 3D view and activate the section box. It is the starting view and ensure that the section box isn't cutting the building. This view is titled as a "_01" suffix. A new 3D view template is also generated and included to this view. This template will be applied to manage the clarity of the section box in all the animation views.
After completing it, replicate the view, move the section box into the building by about 20 feet and redefine the view with an "02" suffix.
The entire method of replicating the view, moving the section box, and renaming the view is continued unless the section box has moved through the whole building.
It is recommended to utilize minimum 8 – 10 images. The animation will be smoother as the numbers of images are increased.
As soon as all the views are produced, edit the view template and deactivate the section box.
Step 2 – Export Images
After generating all the images, export them using the "Export Image" dialog. Go to the Revit button, choose "Export" then "Images and Animations" and lastly, "Image". It will introduce the "Export Image" dialog.
In the "Export Image" dialog, choose the views to export in the "Export Range" section. Suppose, you are going to utilize PNG files, then in the "Format" section, PNG for "Shaded views" and "Non shaded views" are selected. Also, arrange the image size for the images in the "Image Size" section. It is suggested to apply 600 pixels horizontal for animated GIFs.
Choose the output folder then click "OK" to export the images.
Step 3 – Load Images into Photoshop
Now, the image files are ready for the animation, these should be transferred into the GIF file and animated. It will be performed with Photoshop. The initial step is to load the individual image files as layers with the "Load Files into Stack" script. To obtain the script, go to File > Scripts > Load Files into Stack.
Each image will be shown as a separate layer in the "Layers" dialog box.

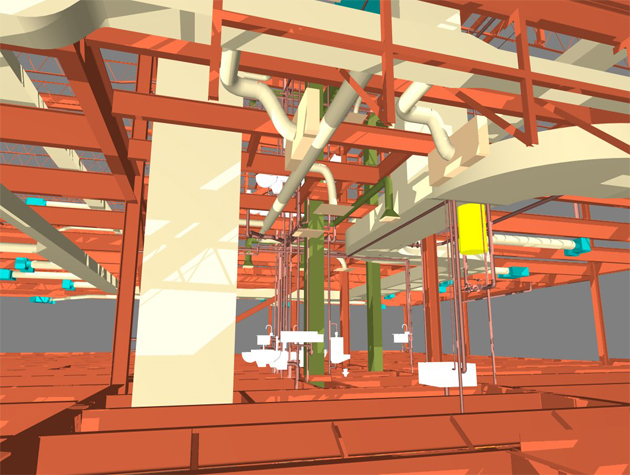
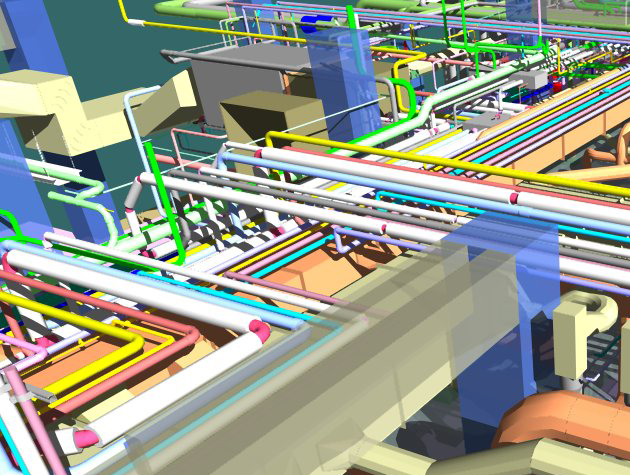
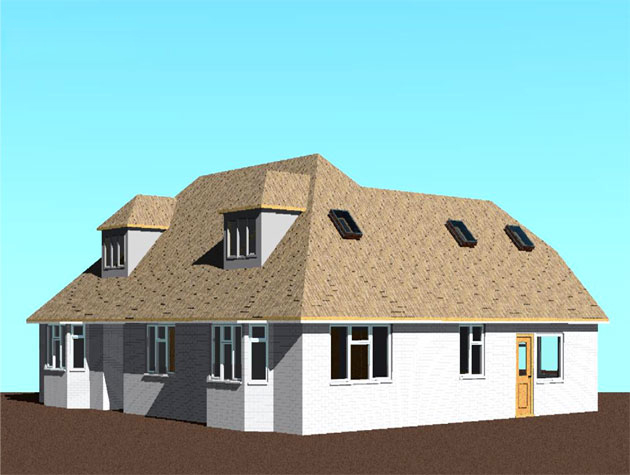
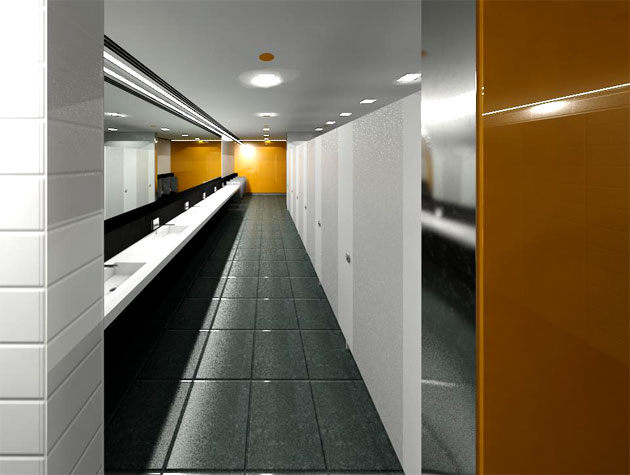
Gallery
Feel free to contact us for BIM requirements. One of our representative will respond you within 24 Hours. Send us your projects requirement today and grow your project.
Explore More !