How to perform hatching in AutoCAD for designing a kitchen in 3D

This video tutorial teaches you the procedure to perform hatching in 3D, by creating the tile effect on the walls , floor on the 3D kitchen tutorial.
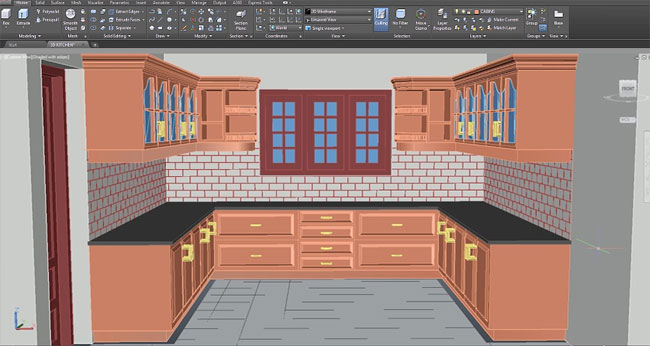
This CAD video shows the detailed processes for creating a 3D model of kitchen with tile effect on the walls, floor. The video is specifically designed to teach you how to create hatching in 3D. You will be able to various kitchen elements like cabinets, handles, doors, windows etc. 3D.
AutoCAD users and drafters generally apply hatching to demonstrate the type of material that is used to form an object, like insulation, metal, or concrete. Alternatively, hatching facilitates highlight or simplify the extent of a specific component in the drawing.
To carry out a hatching in AutoCAD on a desired plane in 3D dimension, it is necessary to coordinate the user coordinate system or UCS on that specific plane. In this context, the most preferred method will be applying face option of UCS command. Just click on the visualize tab and select face option from drop down menu and click on the chosen plane.
Now, X, Y will be aligned on that plane. Press enter to accept it.
The hatching is performed with the following two methods :-
Ray Casting Method � Here, select a point on the chosen area where a specific pattern will be filled.
Boundary Method � Indicate the boundaries where the pattern should be filled.
For more information, watch the video.