10 Things You Most Likely Didn't Know About Complete House Design with AutoCAD in Revit Architecture
The concept plan should draw in AutoCAD, and construction documents should be drawn in Revit later. A floor plan template has been prepared for you to use. Components, view templates, and wall compositions include making your work easier. Your house floor plan is complete.
Workflow
A. Set Up Levels Height
It is still necessary to assign the walls to specific levels even if elevations and 3D views are not needed at the moment. Ensure that all required levels are created by going to an elevation view. You can adjust them later, but you have to set them to the correct height first.
B. Walls Intersection Placement at Internal Origin
You place the building's corner at the intersection of the Internal Origin, regardless of which coordinate system you are using. You can see the internal origin by selecting the arrow symbol if you are using Revit 2020.2 or later.
Although all these points should be in the same place before you begin, the internal origin shouldn't be confused with the Project Base Point or Survey Point. Exporting to AutoCAD will make this point the origin. You can do the same when linking AutoCAD files.
C. Temporary Dimensions Uses
You can select an element to see a blue dimension. You can adjust the dimension by changing the blue text value. The dimension will be permanently displayed in the view when you click the symbol.
D. Trim Use for Adjusting Walls quickly
You may already be familiar with TRIM if you used AutoCAD previously. It is possible to extend elements using the same TRIM tool. A layout can complete using detail lines, alignments, temporary dimensions, and trimmings.
E. Add Windows & Doors
Your walls will be ready once you have arranged your doors and windows. The creation and control of doors are simple. You can flip the door by clicking the arrow symbol or pressing SPACEBAR.
Window addition is now possible. You will need to click on the wall and place the side correctly. You must flip the arrows symbol if needed, which locates on the outside of the window.
F. Adding Components & Lines
Many people struggle with this part. You won't find great components as easily as you think in Revit. If you want to display a 3D view, upgrade the 2D elements to 3D elements when you're ready. The template contains components that you can start adding. Alternatively, you can copy and paste. You can add toilets, refrigerators, wardrobes.
Model Lines are a good complement to families. Lines represent the kitchen countertop. In the future, you will model actual cabinets to use in 3D views and elevations.
Component families can function differently. As an example, a wall needs to host the toilet family. You can't just let it float.
G. Overlay Uses for Other Floors Visualization
Set the Base Level to Level 1 when looking at a second-floor view using an Underlay. Grey is the color of the floor plan for level 1. As a reference, you can use the floor.
H. Align Components from one floor to another using Reference Planes
The use of reference planes is another method for referencing multiple levels. Green dashed lines indicate these elements, and they never appear on the printed page. Below, we present an example of where we will add structural columns at some point in the future. All plan views show the planes.
To get online demonstration, watch the following video tutorial.
Video Source: Pts CAD Expert
I. Thin Floor Modeling
You're getting close to finishing your floor plan. The ceramic floor pattern may be what you're looking for. Lay a thin layer of flooring (12 mm or 1/2''). A type of this kind provides in the template. The ceramic pattern measures 305mm x 610mm (12'' x 24'').
J. Place the views on Sheets & Print
Finalize your work, & then place your image on a piece of paper. You can adjust the crop region around the house. You make adjustments to the sheet for printing.
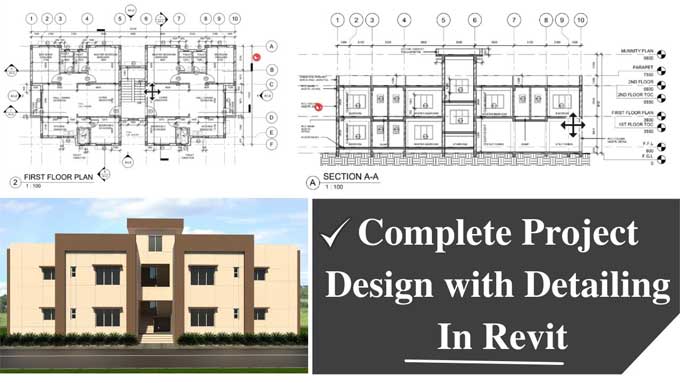
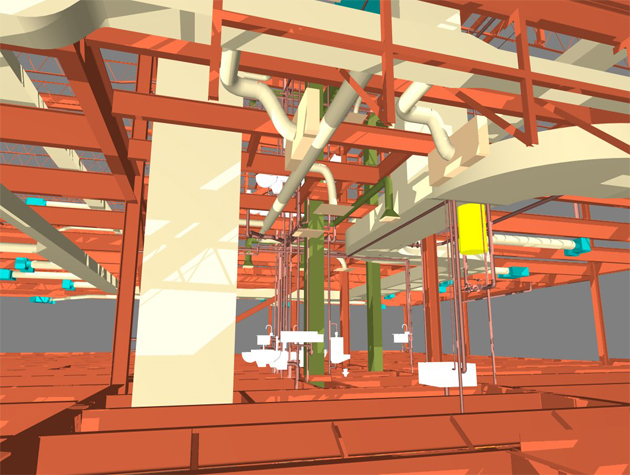
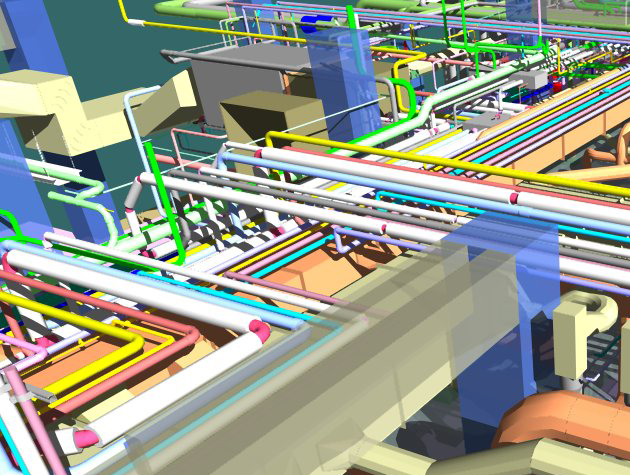
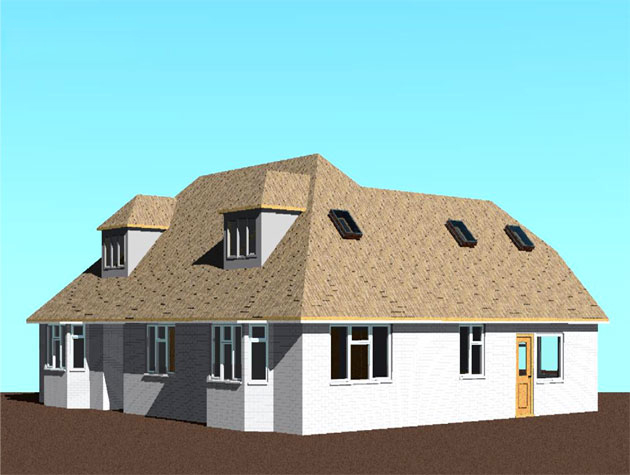
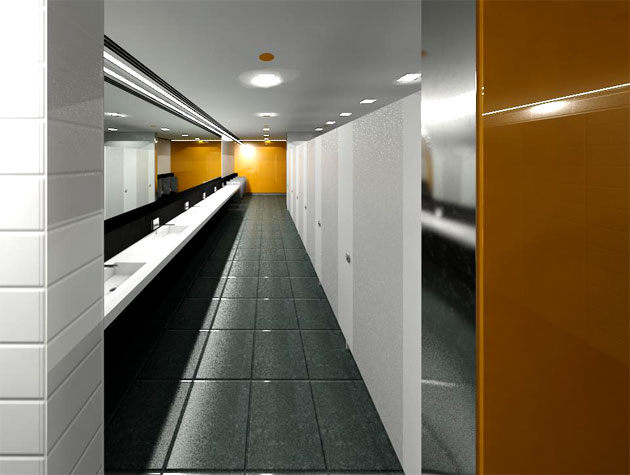
Gallery
Feel free to contact us for BIM requirements. One of our representative will respond you within 24 Hours. Send us your projects requirement today and grow your project.
Explore More !