A Professional's Guide to Modeling Floors, Roofs, and Ceilings in Revit
Tweet
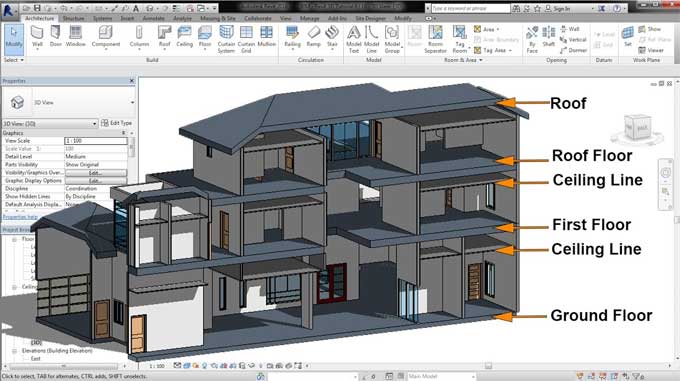
There are three major horizontal elements associated with the construction of a building: the floor, the roof, and the ceiling. When learning this software, you almost always encounters each part one after the other because Revit models these three parts similarly.
Many mistakes and problems can occur during the building process. The majority of these problems stem from misunderstanding the workflows and construction details. The importance of resolving these issues is worth your attention. It is possible to reduce the cost of overworking in the construction industry by using details that benefit everyone.
Basic Understanding of Various Types of Floors
Autodesk Revit software's sketch-based elements include flooring. You can place some families in the default libraries only after you have the floor, so you'll need one before you can place them. In other words, deleting the floor that hosts them will result in the deletion of components hosted by the floor.
The contours of the floor will dictate the perimeter of the floor on the floor plan. Therefore, if you want to correctly interpret the contour, you should refer to the route marked on the facade walls. Additionally, if we want to place stairs or installation cubes in the ground, we must create a contour that Revit understands as a whole. You can apply a slope arrow to floors with the final and initial extreme levels defined to create floors with specific slopes or ramps.
Model Different Floor Finishing
Specifically for flat roofs, the positive slopes need to remove, and a small negative slope adds if water evacuation slopes include. To form water evacuation slopes, you must work on a high level of detail of flooring.
Like almost every other item in Revit, floors can be duplicated and created in any number of types. A particular focus must place on the level of development of the project. You will be able to create more or fewer types of floors based on the materials they are made of with this level of information.
Ceilings Creation
Modeling the walls beforehand is essential when it comes to the ceilings, as this will allow you to place the panels in each room. Furthermore, we can also automatically place panels, just as we can place floors with sketches. That is the simplest method, but Revit must find an enclosed space.
Basic Understanding of Roof?s Modeling
Last but not least, the roofs are a bit larger. Revit does not differentiate between sloping and flat roofs, which we know in advance. In Revit, roofing is also modeled by sketching it. The same is true for floors and ceilings. The exterior walls of the facade will take as a guideline, from which you will apply offsets and slopes by sections to model your roofs.
Wrapping it Up
Even simple building components, like floors, ceilings, and roofs, can be difficult to model and detail when designing your project. While walls are primarily based on a linear path, floors, ceilings, and roofs are based on boundary sketches.
Starting with the floors, moving on to roofs, and finally finishing with the ceilings is generally logical and similar to model building's exterior and interior walls.
To get online demonstration, watch the following video tutorial.
Video Source: Balkan Architect
Floors need to reference walls that have already been modeled before they can construct, and referencing the walls to the floors is essential. Managing all of the project's levels at the beginning of the modeling process is necessary to have the walls ready.
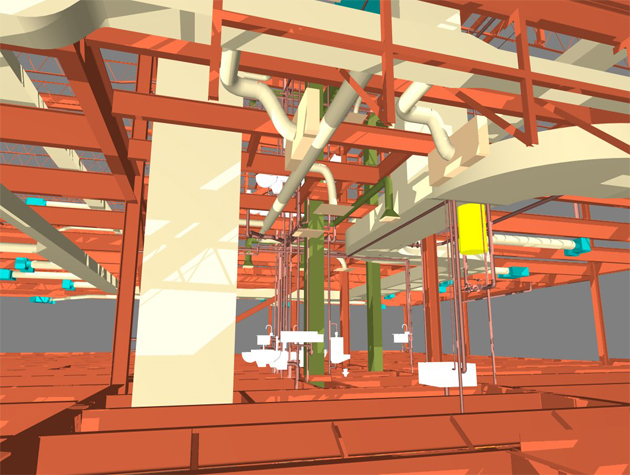
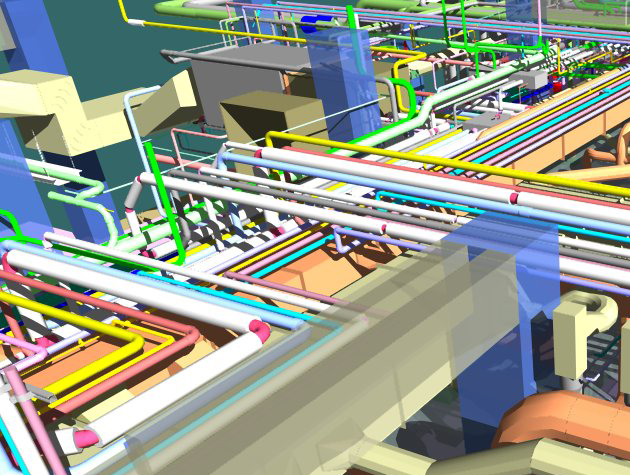
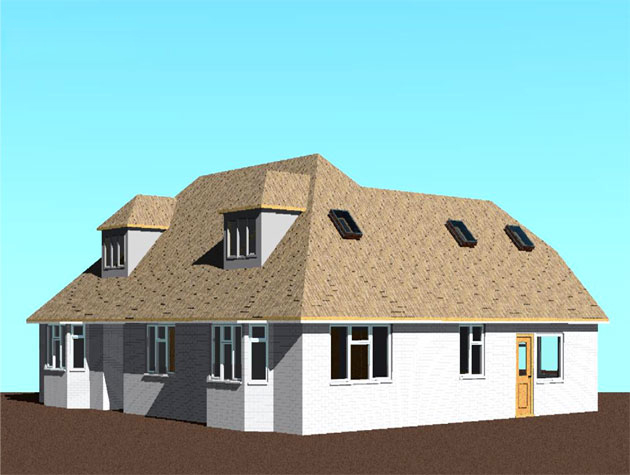
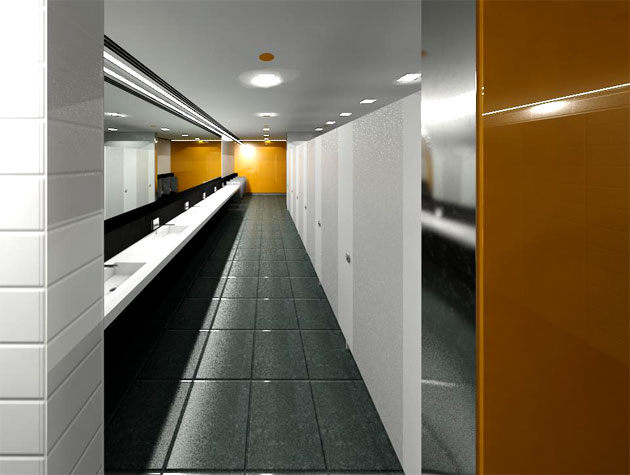
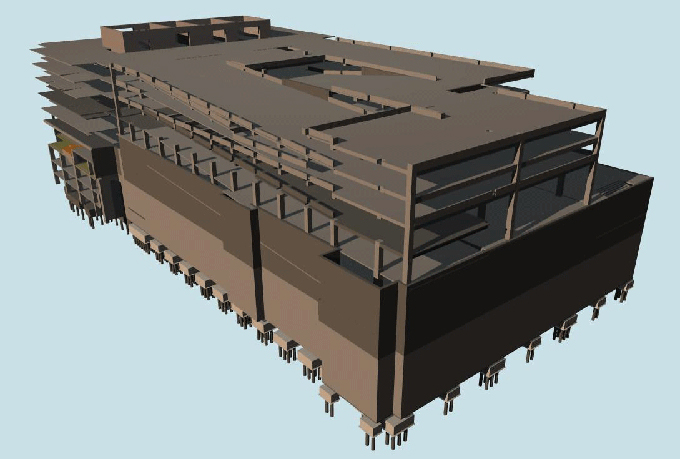
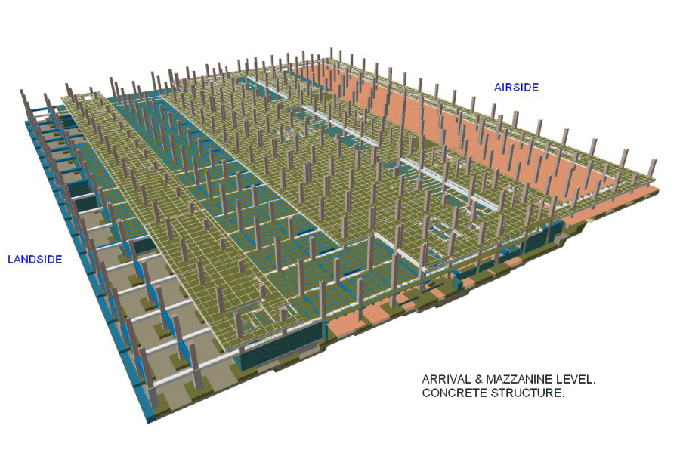
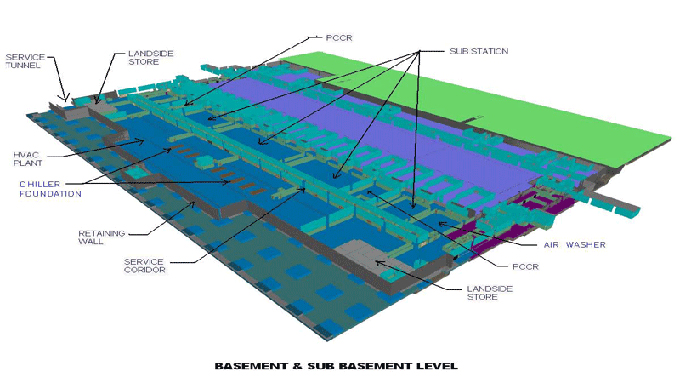
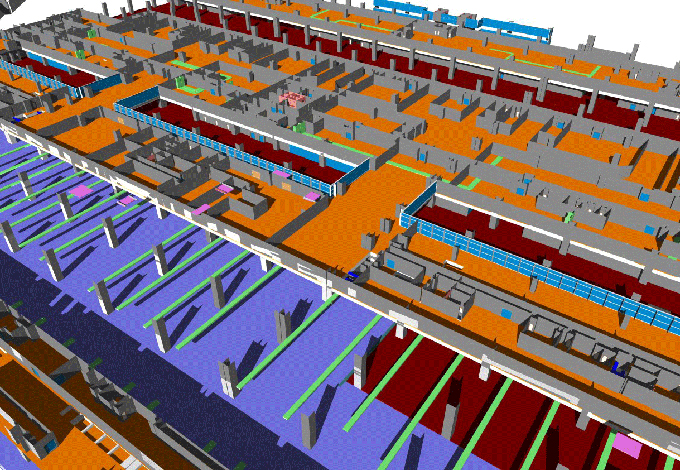
Gallery
Feel free to contact us for BIM requirements. One of our representative will respond you within 24 Hours. Send us your projects requirement today and grow your project.
Explore More !