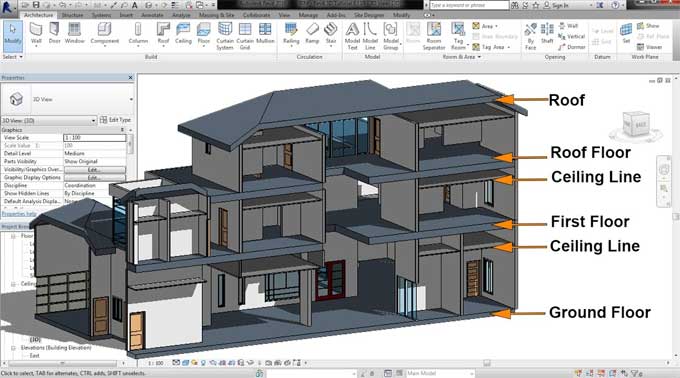
How to Model Floors, Roofs, and Ceilings in Revit
Tweet
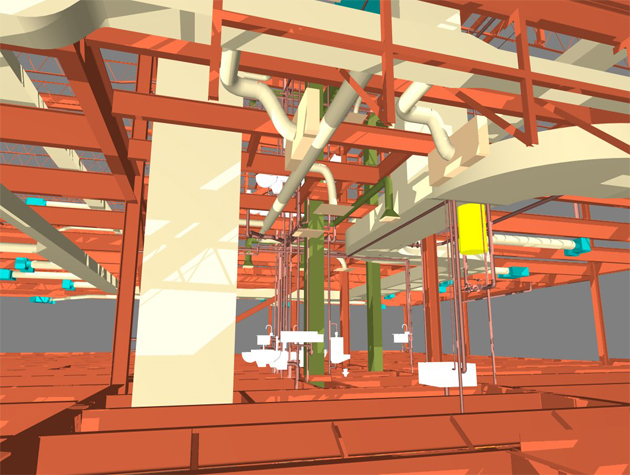
Roofs, floors, and ceilings. In a very generic way, they consist of all the horizontal elements we can find in a building. In the program Revit, these three parts all have a similar modelling method, so they almost always appear one after the other when learning the software.
It is usually logical and therefore identical to start with the floors, then soffits, and finally, the ceilings. After having modelled the exterior and interior walls of the building, we have achieved all of this.
In order to create floors, it is imperative to have previously modelled the walls since the walls can easily match the floors to the existing walls. We need to remember that the walls can only be ready if all levels of the project are managed at the beginning of the modelling process.
Just like with most of the items in Revit, floors are created and duplicated as many types and times necessary. The project's level of detail is given special attention. The level of information enables us to create more or fewer floors that depend on the materials they are made up of.
Floors are modelled by contour, which means we'll need to indicate what the perimeter of the floor is on the floor plan. For this reason, the most suitable methodology will be to refer to this contour in conjunction with the route marked by the facade walls.
In a similar manner, if we want to locate elements such as stairs or installation cubes in the ground, we must create an interior contour that Revit understands in its entirety.
Last but not least, we can apply a slope arrow to the floors with final and initial extreme levels, which will help us create floors with a specific slope or ramp.
In addition to the ability to place panels by sketch, we can also place panels automatically. That is the easiest way to do it, but only if Revit finds a space enclosed by a wall. For ceilings, it is imperative that the walls are modelled beforehand so that we can place each panel where it is needed.
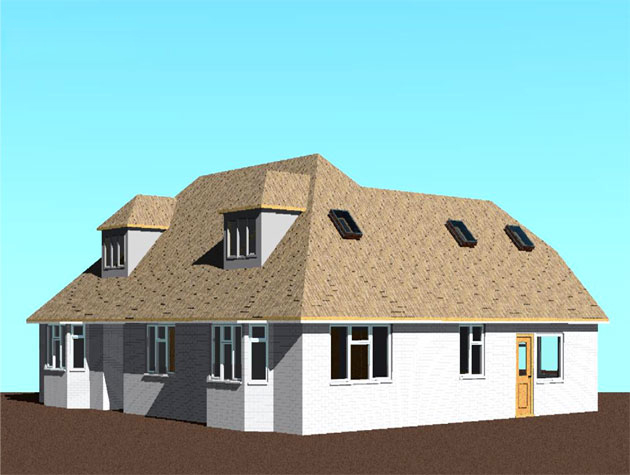
Lastly, the roof case is a bit larger. As we know in advance, there are sloped and flat roofs, and Revit does not differentiate between them. As with floor and ceiling modelling in Revit, roof modelling is also possible by sketching. The exterior walls of the facade will serve as our reference, and by applying offsets and slopes by sections, we can model our roofs quite easily.
In the case of flat roofs, it is simply necessary to eliminate any positive slope and add a minimal negative slope if we intend to include water evacuation slopes. Despite our high level of detail, this formation of slopes of water evacuation will be accomplished by modifying the roof elements.
To get online demonstration, watch the following video tutorial.
Video Source: Balkan Architect
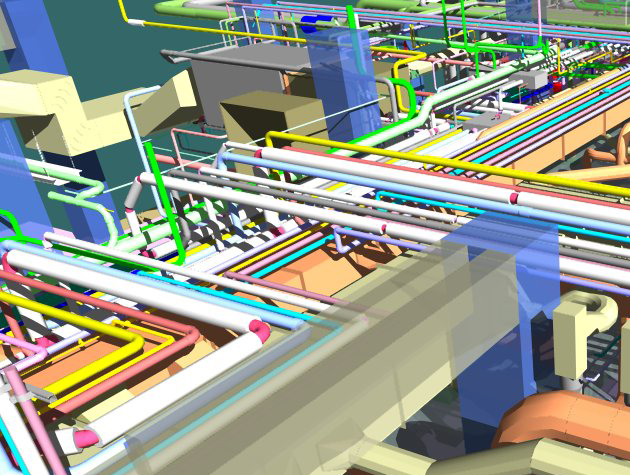
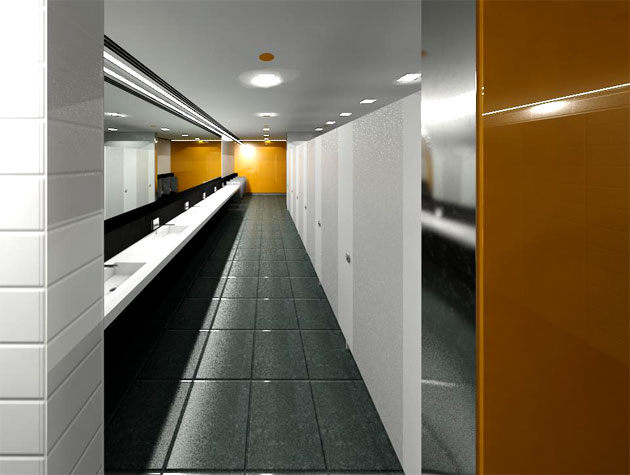
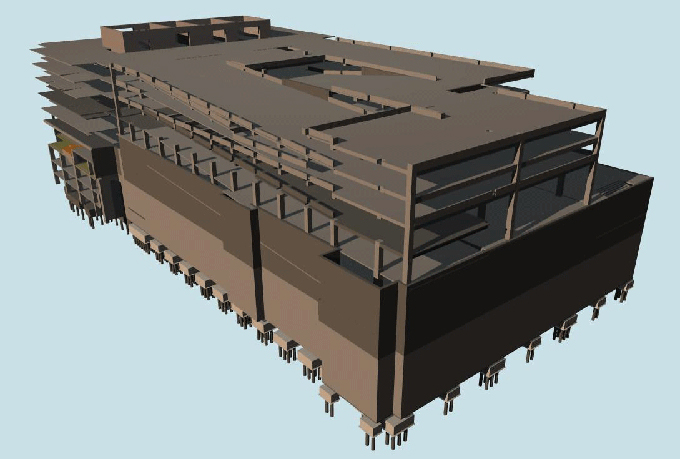
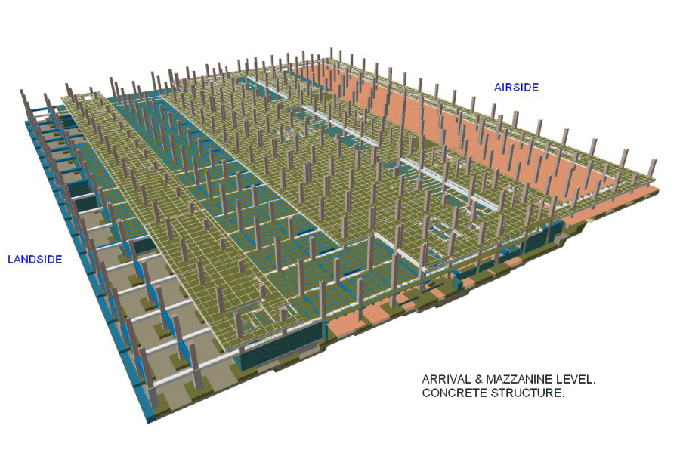
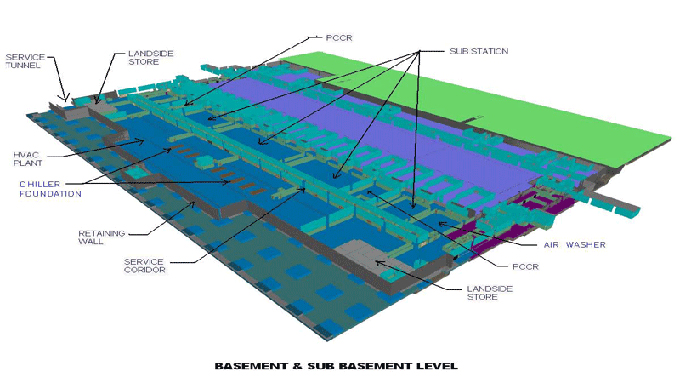
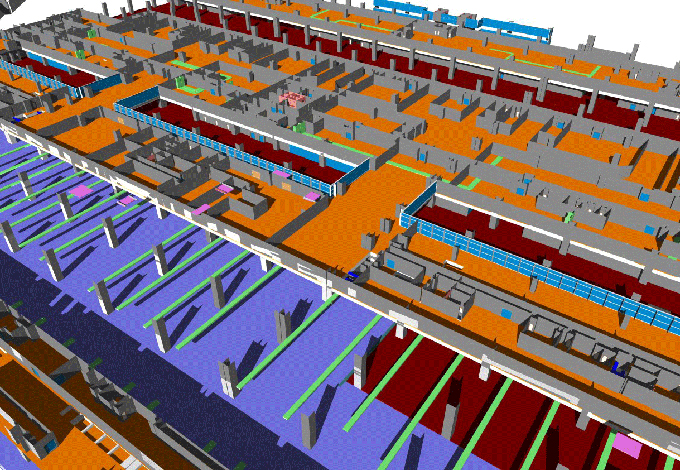
Gallery
Feel free to contact us for BIM requirements. One of our representative will respond you within 24 Hours. Send us your projects requirement today and grow your project.
Explore More !