How to transform any PDF or image files in AutoCAD
Tweet
Once the drawing is completed in AutoCAD, it is often required to transform it to PDF or image format or take print some of the portion of the drawing. In this AutoCAD video tutorial, you will learn how to do it efficiently.
Given below, the step-by-step processes :-
At first open the drawing
Then zoom it by providing z in command line
Now press ctrl + p for print
Now in page set up dialog box, go to printer/plotter section and select the option as per your choice. As for instance if you want to transform to PDF, then select DWG to PDF.
Then go to paper size to select page size.
Then opt for what to plot situated under plot area. Then select window from drop down menu.
After going to window, select the portion of the drawing to be converted to PDF or printed.
After selection, click on it to go to page set up again.
You can also click on plot offset option to provide offset toward X or Y axis.
Now, click on plot style table and from the drop down menu opt for grayscale or monochrome etc.
Now, click on scale option situated under plot scale and maintain ratio of scale for the drawing. If it is not required, click on fit to paper option and exit.
Then go to drawing orientation and select portrait or landscape and then press ok. Then save it to any drive of computer.
For more clear ideas, go through the following video tutorial.


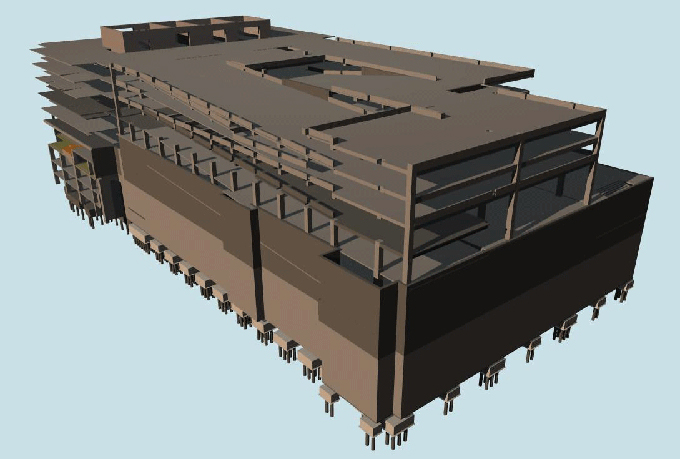
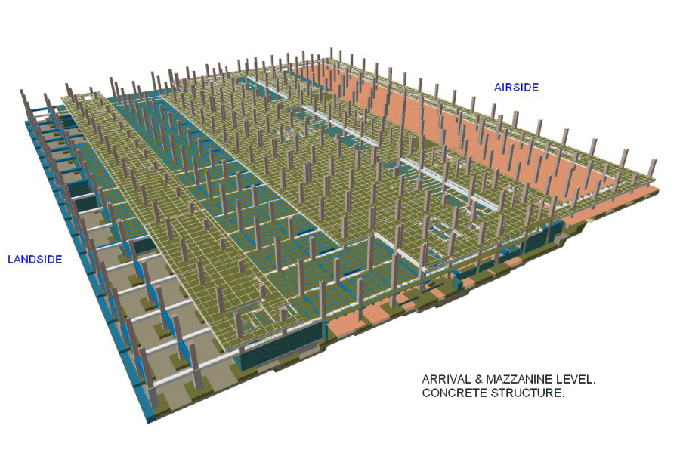
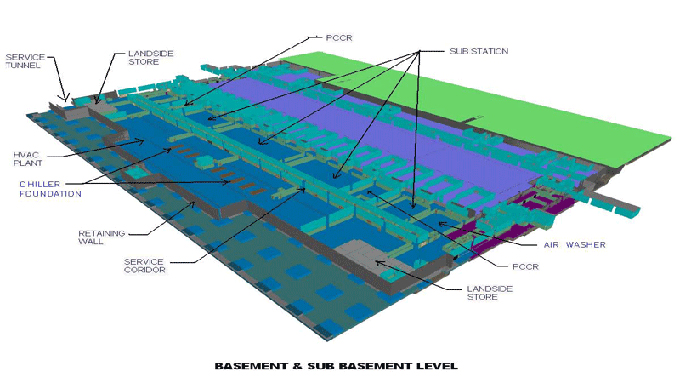
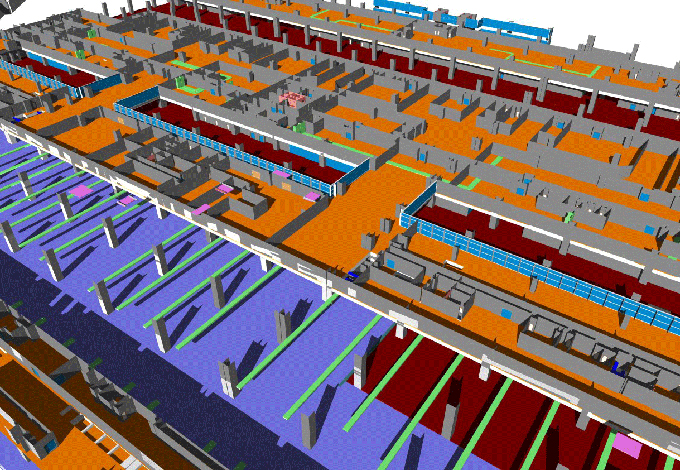
Gallery
Feel free to contact us for BIM requirements. One of our representative will respond you within 24 Hours. Send us your projects requirement today and grow your project.
Explore More !