Create 3D Renderings with Lumion for Revit
Tweet
It's a great way to obtain good quality views on your projects promptly by using Lumion software. You can enhance your Revit skills with this. This BIM system offers 3D drawing capabilities that are intelligent. Architectural, engineering, and construction firms use Autodesk Revit as the main design tool.
For architects who want to convey their vision using a Revit model, Lumion rendering software is the ideal solution. Lumion creates a live connection to your Revit project even if you have no experience with 3D rendering.
It is possible to capture your project in a compelling, immersive way in less than an hour, whether it is a real-life context or a conceptual one.
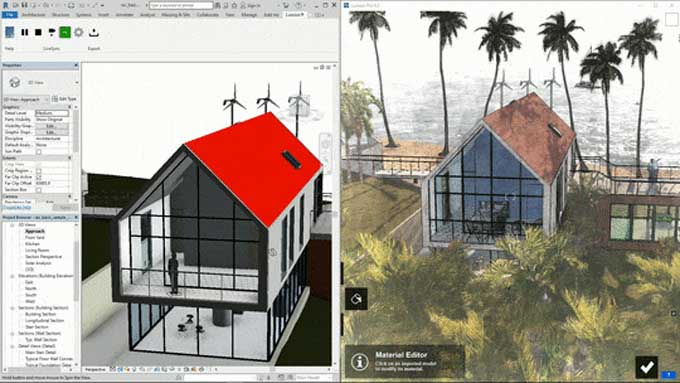
It allows you to quickly create images, videos, and 360-degree panoramas that are suitable for VR, and Lumion shows your design in a thick forest next to the ocean.
Real time rendering with Lumion Live-Sync for Revit
Lumion Live-Sync is a free plug-in that allows you to link your Revit modeling project with your Lumion rendering project in real time. Download the Live-Sync plug-in from the Lumion website and install it in Revit to quickly connect the two programs so you can make changes to the model in Revit and Lumion will reflect them in real time.
You can always see how your BIM choices affect the photorealistic or conceptual representation of your project when you're in the early stages of design, for example. You can alter how the light flows in the living room by changing its dimensions.
Make sure the design concept for the roof fits with the project's real-life neighborhood by testing it out. Take a walk on a crystal-clear night through an office building or a landscape design on a rainy morning.
Workflow of Lumion
It is possible to shape a mountain, a hill, or create a river or lake. More than 5,600 models are included in the library of content, making it easy to create realistic exteriors, interiors, urban and rural scenes in a matter of minutes. When you import your model into Lumion, you can easily illustrate the beauty of your designs in your design's real-life or conceptual context due to the intuitive world-building environment. More than 1200 customizable materials in the content library allow you to make the design truly stand out, giving your clients a lasting impression.
2 Key ways importing Revit Models into Lumion
A. Export from Revit to Lumion
There is no compatibility issue between Lumion and CAD or 3D modeling programs or file formats. The Live-Sync design creates a seamless experience between your Mac and PC, but you can also export your project as a Collada.
B. Real time Rendering with
When you use the free Lumion Live Sync plug-in, you can seamlessly integrate Revit and Lumion. Live Sync lets you visualize your Revit model instantly when you have Lumion 7.3 or newer. You must select a perspective 3D View before clicking the Live Sync button. Once a connection is established, rendering and modeling become a real-time experience, allowing you to progress from your initial idea to a final, beautiful rendering more quickly than ever before.
Instructions for Lumion Bridge & Revit
You will see the exporter window for Revit to Lumion Bridge. You have a handful of choices here. In case you weren't clear, the Geometry Accuracy slider relates to your model's graphical detail.
1. The file size will increase as you slide this to the right, but the model will be more detailed. Then click on export once all the options are selected. You will prompt to save the file in a window. It depends on what settings you've chosen and the hardware on your computer. Unless you have a large model, it won't take long.
2. Then, open Lumion as soon as the file has been exported to the desired location. The opening menu lets you start a new Lumion scene. Select the Add a New Model option from the Import block on the left side of the screen once the scene has loaded.
3. Double-click on your exported file after finding it in the location where you saved it. Upon clicking the Import Animations button, you will be prompted to name your model and whether it has animations. On the right side of the screen, click on the Check Mark icon.
4. As soon as you've completed this step, you can drag, drop, and position your model anywhere in your scene. Click on the model when you are ready to place it. When you have the model in the scene, you can begin to use all of the features of Lumion to create a realistic model.
To get online demonstration, watch the following video tutorial.
Video Source: Joseph Kim
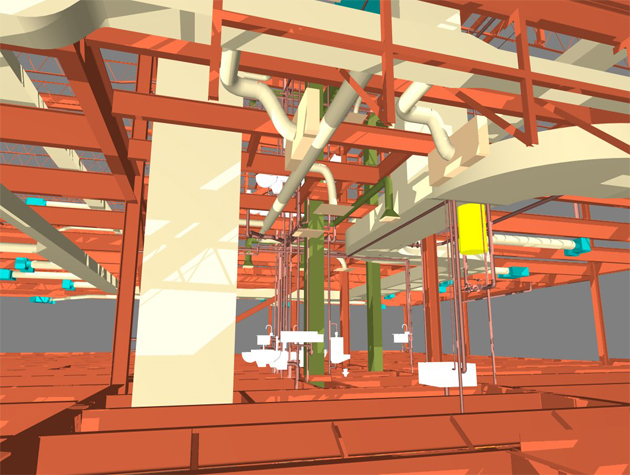
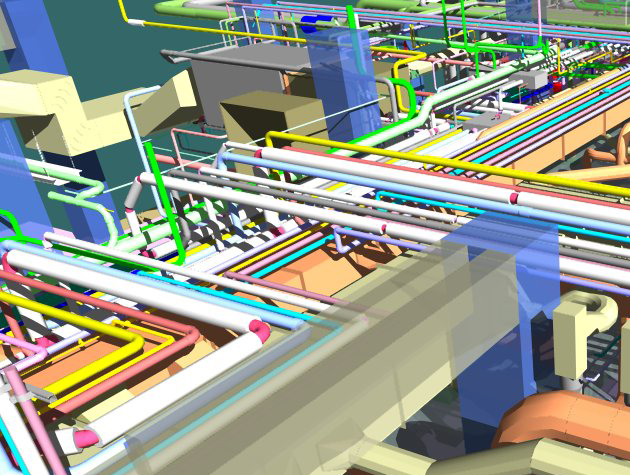
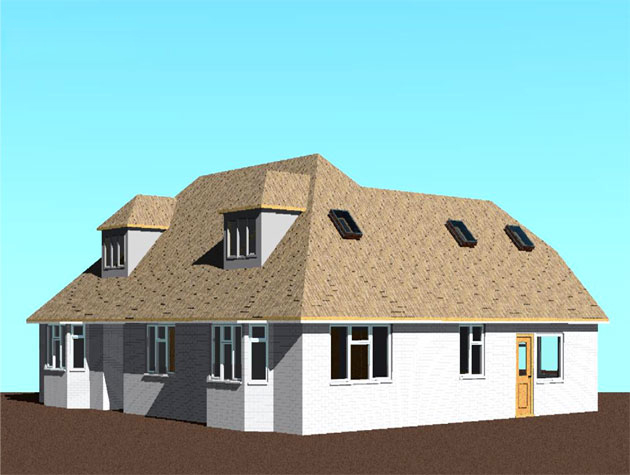
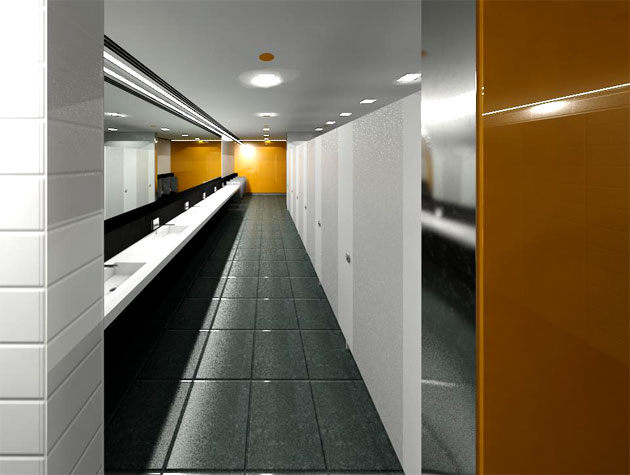
Gallery
Feel free to contact us for BIM requirements. One of our representative will respond you within 24 Hours. Send us your projects requirement today and grow your project.
Explore More !