Learn How to Master Landscape and Topography in Revit with These 14 Tips
Tweet
Autodesk's products are often frustrating for landscape architects and users of complex sites. It's good news that the community came together to find great workflows and build outstanding plug-ins that resolve issues with the landscaping features.
1. TOPOSURFACEs should be used on simpler sites instead of floors
The TOPOSURFACEs tool is often used to create sites in Revit. Modeling generally teaches this way because it's the most common workflow. Despite this, TOPOSURFACE can deal with difficulty. TOPOSURFACEs and pads are difficult to build for most users. Simple sites best represented by floors. There should be a unique flooring type for every hardscape component, such as pavement, sidewalks, grass, and soil.
2. Specify Exterior as the Site Floor Function
You can filter, schedule, and control the visibility of site floors by setting the type property to Exterior inside the type property. A floor schedule can filter to exclude site floors. The exterior floors should also have Room Bounding unchecked.
3. Make Simple Slopes with Floors
It is possible to create slopes using floors. The first technique is to use arrows, where you set an arrow slope angle. The second option is to manually adjust the height of the points like it often happens with flat roofs.
4. Use TOPOSURFACE for Complicated Slope Sites
TOPOSURFACE are probably best modeled as linked Revit models. Topography points are created by determining their distance from the Internal Origin, defined as the height referred to as the absolute elevation. As a result, if you are modeling from surveyor information, it makes sense to use Internal Origin height since the sea level is zero.
5. Making Adjustments to the Topography and Visual Settings
There are thin lines for secondary contours, while thick lines for primary contours. The secondary contours start only at 0. It's also necessary to set a negative value in this place if you're using negative numbers. You shouldn't have that problem at sea level since it is zero.
6. Linking CAD files to TOPO
Add topography lines to your CAD file. Utilize the Import Tool to create a TOPOSURFACE. Then, choose which layer you wish to use from the CAD file.
You should ensure that each TOPOLINE has a z-value in the CAD file. Otherwise, each automatically generated point will need a height assigned manually.
7. Modifying the TOPOSURFACE with the Grade Region Tool in phases
A Graded Region will construct a new TOPO surface on top of the main TOPOSURFACE. The Graded Region tab can be found under the Massing & Site section. Then play with the TOPO points to adjust the heights to reflect the construction changes.
8. Model curbs with railings
TOPOSURFACES and floors can host these curb railings. When configuring the Rail Connections parameter in the railing type properties, make sure to activate the Weld option if you want clean joints between curbs intersections.
9. Making Sloped Curved Walls
It is easy to build a sloped straight wall. However, curved walls cannot have their profiles modified.
The first involves creating a sloped reference plane and attaching the wall top. A Void Swept Blend can also model using the Model In-Place tool. It is usually non-recommended to use the Model In-Place feature, but there is a legitimate use for it in this case. The sloped wall can be cut using the Cut tool under the Modify tab.
10. Shape Floor to Match Topography
The flat floor can shape using this tool based on the top surface shape.
- After choosing the tool, choose the TOPOSURFACE and then the floor.
- A menu will appear below. This elevation should adjust concerning the TOPOSURFACE. The plug-in will calculate after you click OK.
- You can turn off the triangulation lines in Visibility or Graphics if you don't like all the triangulation lines.
11. Contour TOPO Model Lines to Floors
Floor Contours is a tool in the environment plug-in. By clicking on the tool, you can select the floor. When you set the incremental value, you will ask what type of model lines will use. It is possible to update or delete contour lines from the same tool by using the drop-down menu.
12. Set Elevation to Model Lines
You first had to import a CAD file to create topography. You can do this within Revit using the Environment plug-in. Start by drawing some model lines. Any shape will work, but splines are best.
Start by selecting the lowest line, and then click on each line one by one. Depending on the options you have selected, the line acquires the color override you've chosen and may display a height indication. You can do this in any view, but it's easier in 3D.
13. Make Surface from Model Lines
You can use the Create Surface tool once your model lines have been created and their heights have been set. This tool lets you choose which model lines to use. A TOPOSURFACE is automatically generated by the plug-in. A CAD file is no longer required.
14. Make 2D Pattern From Floor or TOPSURFACE
Due to their unlinked nature, 2D components like lines and regions must be used. As in this case, developers created smart 2D components for the Environment plug-in. On sloped floors, models have completely different patterns. Here's what you need to know:
- You choose either Visibility or Graphics based on your preference. You can better hide the pattern.
- After choosing the floor, you should click Create Outlines. Views with the same material automatically fill with this view.
To get online demonstration, watch the following video tutorial.
Video Source: Balkan Architect

Image Courtesy: revitpure.com
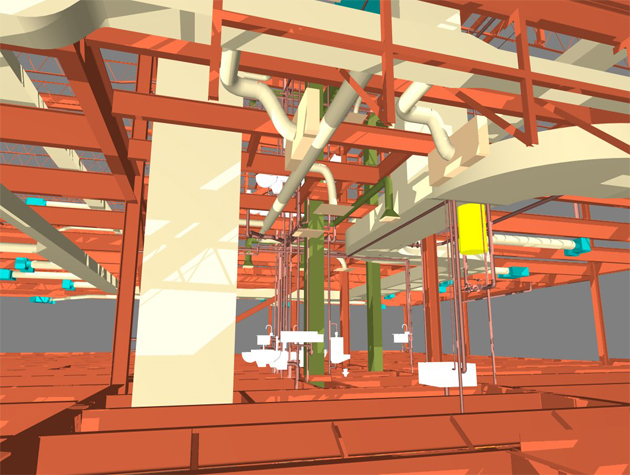
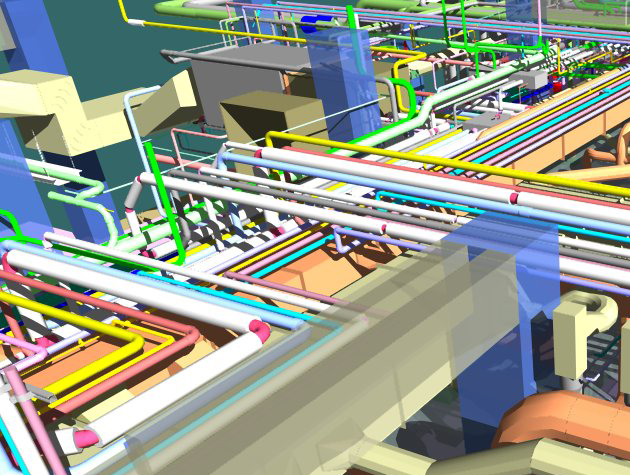
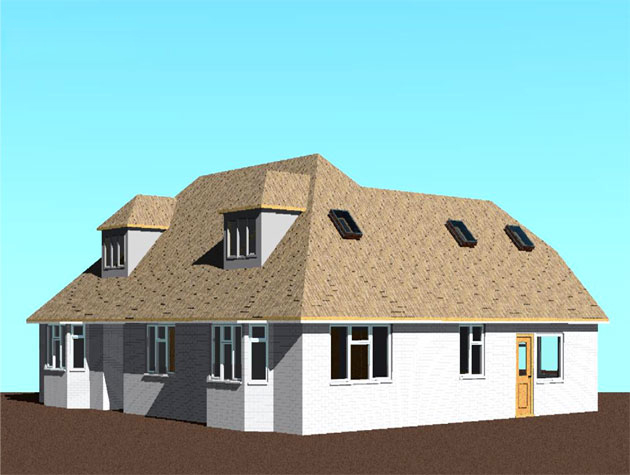
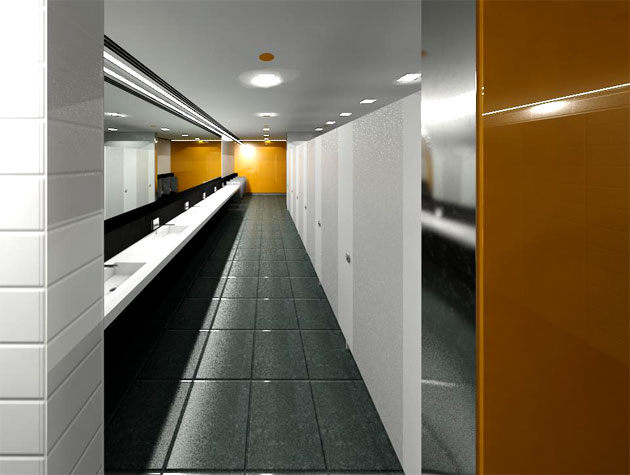
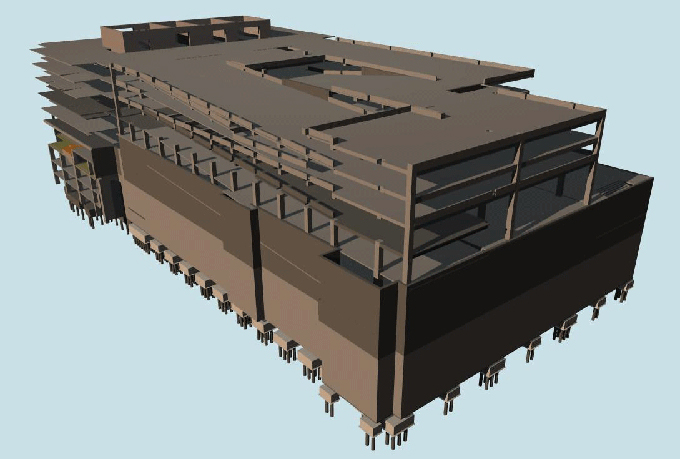
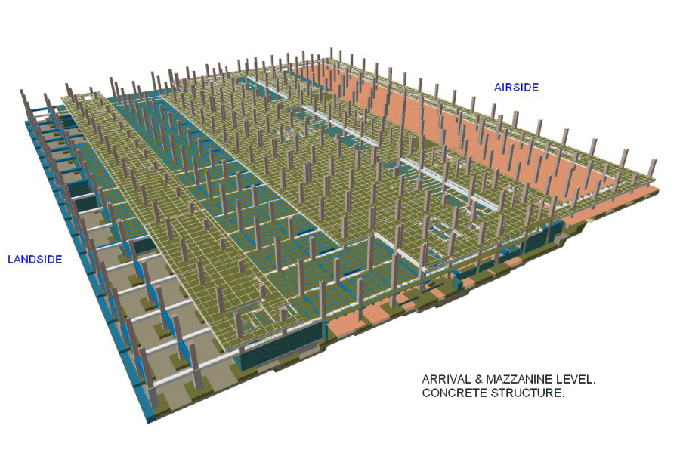
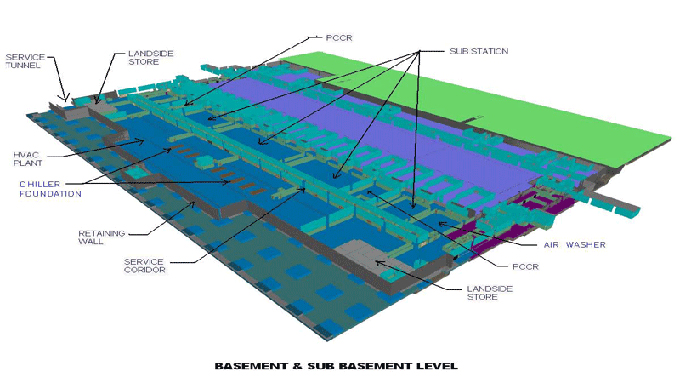
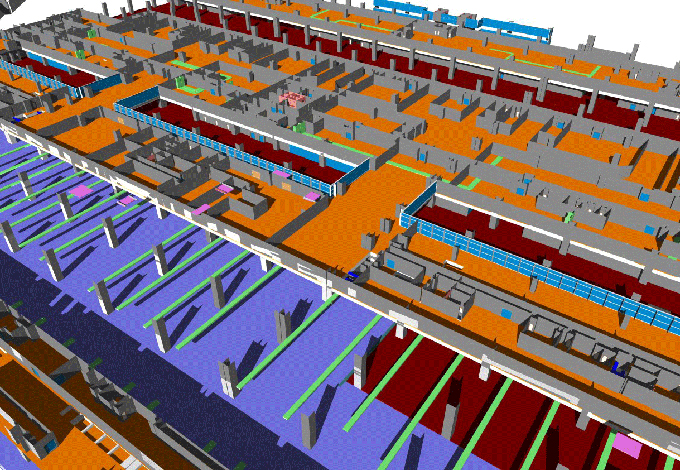
Gallery
Feel free to contact us for BIM requirements. One of our representative will respond you within 24 Hours. Send us your projects requirement today and grow your project.
Explore More !