How to Model Floors, Roofs, and Ceilings in Revit
Tweet
Floors, ceilings and roofs are the horizontal elements of a building which has a similar way of modelling in the Revit software. For designing these elements, it is necessary to have pre-designed models, so the users can manage all the levels of the project at the starting point of the design modelling and this can be possible by using the pre-designed models in the Revit software.

Designing floors in Revit

In Revit, designers have to follow two steps for creating floors. These steps include:
Creating the basic floors
Designers have to utilize the floor tools in Revit software to sketch the boundaries of the floor. After that, the floor area’s parameter needs to be defined by the designers and this can be done by clicking the set endpoints. The thickness of the floors needs to be specified as well as the elevation needs to correspond with the architectural drawings in the Revit software.
Editing the boundaries of the floors
In this stage, the boundaries of the floors need to be modified to accommodate the changes in the design procedures or spatial constraints. The modified tools need to be utilized for reshaping the floor boundaries, adjusting the corners of the floors and refining the edges. It also needs to be ensured that the floor boundaries should have to align with the columns, walls, and other structural elements in the building models accurately.
Floor Techniques
There are several advanced floor techniques which help to make innovative floor designs in Revit which include:
Splitting the floors and providing shapes to the floors
➢ Users can use a split tool to divide the floors. This tool helps to separate regions for corridors, rooms and others.
➢ The shape editing tool can also be utilized by the designers to modify the boundaries of the floors. In addition, this tool of Revit software helps to create irregular shapes and add slopes in the Revit models.
The application of the floor finishes
➢ The aesthetics and functionality of the floors can be enhanced along with the finishes such as carpet, tiles, wood or concrete.
➢ Users can select these finishes or materials from the library on the basis of maintenance, durability or the desired looks.
➢ The properties of the design materials can be customized in the Revit software. The properties that can be customized are the colour, texture and reflectivity for the visual effects of the floors.
Designing roofs in Revit

The building envelope has been completed by creating roofs. There is a robust set of tools in the Revit software which allow the users to create different shapes and complexities of roofs.
Creating the basics of the roofs
For creating the basics of the roofs, several roof tools can be utilized by the designers to define the boundaries of the roofs. These tools are also useful for specifying the slope angles of the roofs. The next step is selecting the type of the roof. Users can select these types of roofs from the properties palette, including gable, flat, shed roofs, or hip. The roof parameters can be adjusted to match the architectural drawings as well as the design specifications for the roofs. The roof parameters include overhang, pitch, and eave details.
Editing the boundaries of the roofs
The roof boundaries need to be modified to accommodate the changes in the roof designs or changes in the structural requirements for the roofs. The modified tools need to be employed to adjust the slopes of the roofs, refine the edges of the roofs and reshape the outlines of the roofs. Designers also need to ensure that the roof boundaries should align with the columns, walls, and other building elements of the building more accurately just like the alignment of the floor boundaries with these building elements.
The use of advanced roof techniques
Making sloped and curved roofs
Slope roofs can be created by the designers along with a variety of pitch angles. It can be done with the help of slope tools in the Revit software. The specification in the roof slopes is also required for addressing the drainage requirements. The roof slope specifications are also useful for enabling aesthetic preference for roofs.
Designers are also able to create curved roofs in Revit software. These curved roofs can be created by using Shape Editing tools or sketching arcs which helps to define complex roof forms. Thus, innovative roof designs can be made by following these advanced techniques which help to enhance the visual appeal and architectural characteristics of the roofs.
Designing roof openings
Several roof openings including vents, skylights, and roof access hatches can be integrated into the building designs. The roof opening tool can be utilized in Revit which helps to create precise roof openings within the roof assemblies. The roof opening dimensions or locations can also be specified by the designers in the Revit software which helps to optimize the ventilation process and natural lights in the interior spaces of the buildings.
Designing ceilings in Revit

The ceiling tools of the Revit software can be used by the users to reflect the plan view for ceilings. For creating innovative ceiling designs in Revit software, several steps need to be followed by the users which are:
➢ At first, the ceiling plan view needs to be opened.
➢ Clicking the architecture tab and then clicking the build panel that shows the ceiling types.
➢ Users need to go to the Type selected option to select the ceiling types.
➢ The next step is placing the selected ceiling types into the design which can be done by following two methods:
To get online demonstration, watch the following video tutorial.
Video Source: Jamie Yeates
Using walls as the boundaries of the ceilings
The Automatic Ceiling tool can be used to place ceilings within boundaries. This tool helps to ignore the room separator lines.
Sketching the boundaries of the ceilings
For sketching the ceiling boundaries, the Modify|Place Ceiling tab needs to be clicked then the ceiling panel should be selected which shows the sketches of the ceilings. Then, the tools of the draw panel can be used for sketching a closed loop which is known as the ceiling boundary. Users need to click on the ribbon to finish the edit mode. Thus, ceiling designs can be created in Revit software.

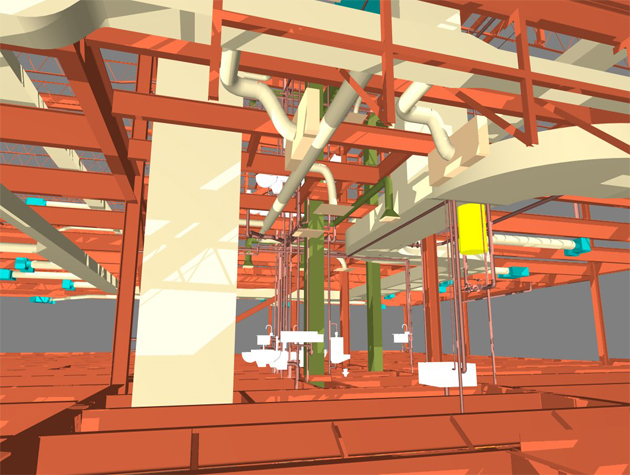
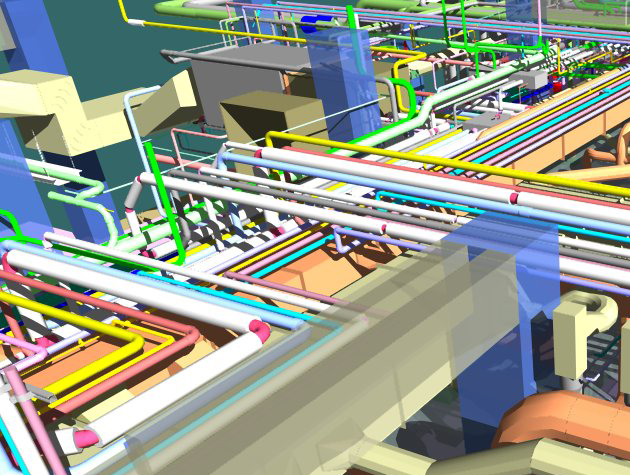
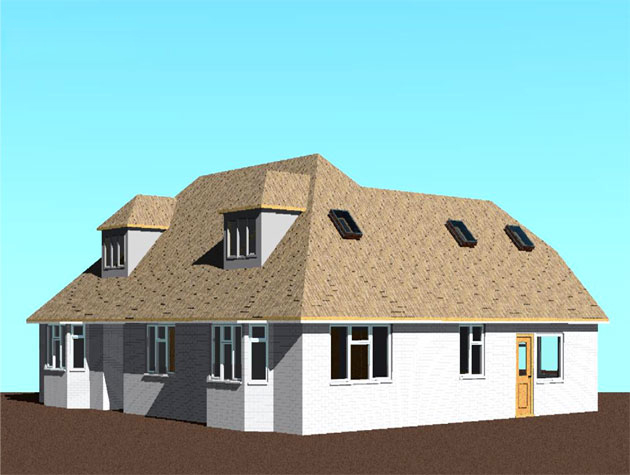
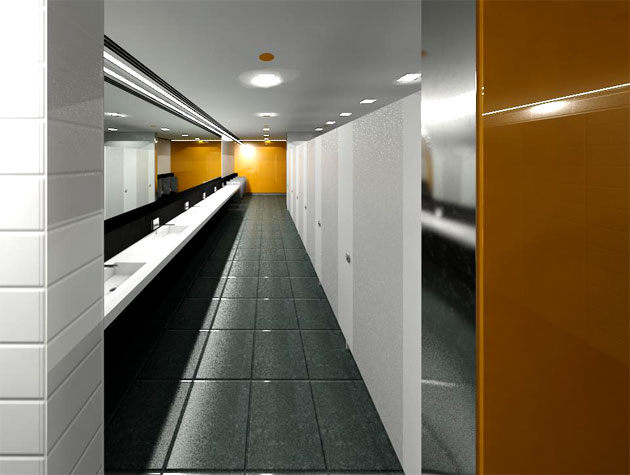
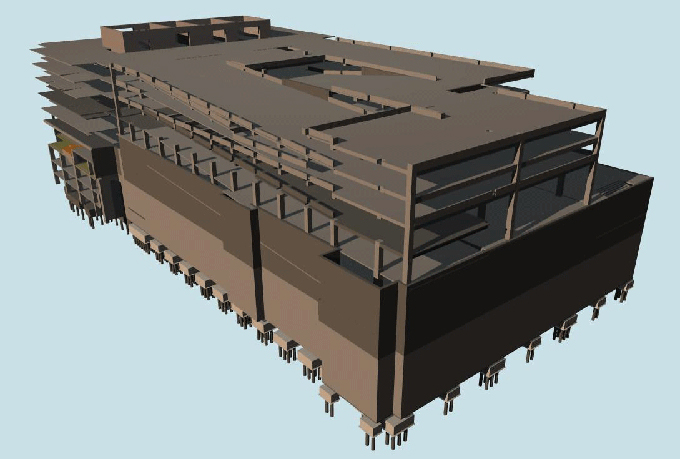
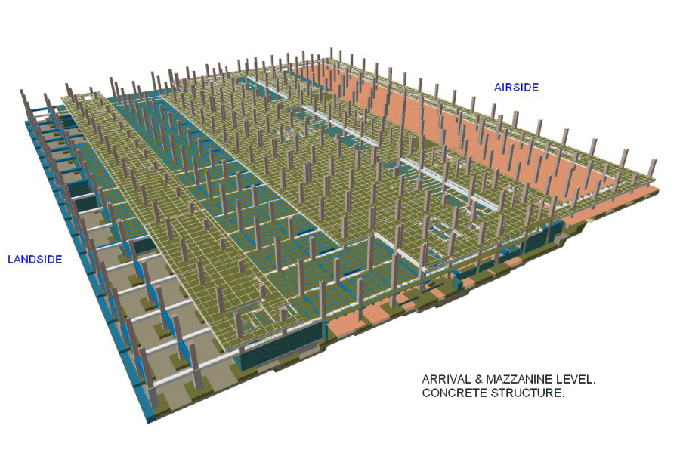
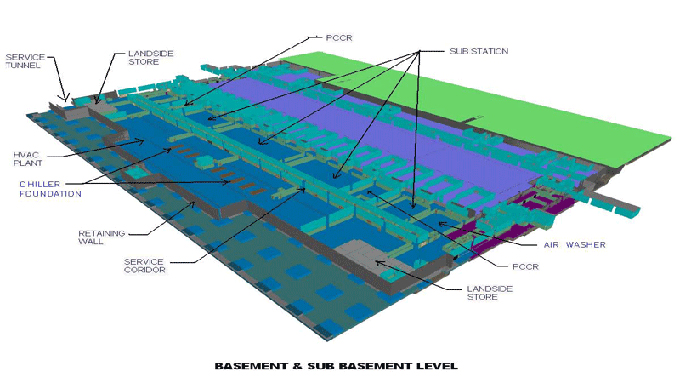
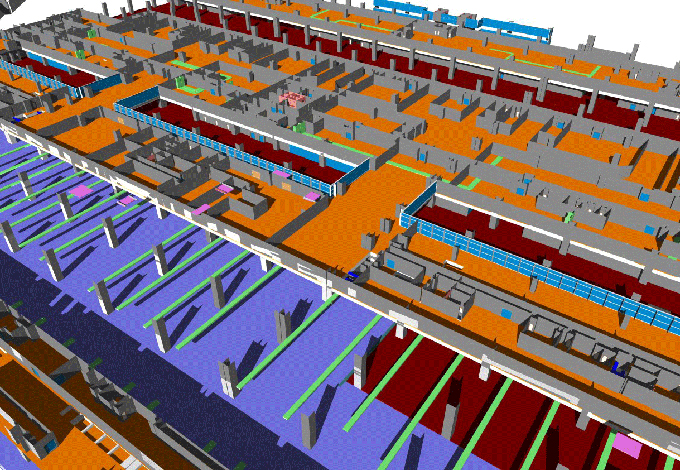
Gallery
Feel free to contact us for BIM requirements. One of our representative will respond you within 24 Hours. Send us your projects requirement today and grow your project.
Explore More !