How to convert point cloud to 3D model Revit?
Tweet
The Point Clouds are the data sets which help to represent the design objects or spaces. The Point Cloud files are essential for design and construction professionals while developing 3D models for the renovation of the design project. The Point Cloud files help to incorporate the entire building data, which can be inserted into the Revit model. As a result, BIM models have been developed for the as-built structure.

The Point Cloud files can be shared in multiple formats, including .e57, .xyz, .ply, etc. The Point Cloud data can also be shared through HTML formats, including Matter port. There is no requirement for any software to view the Point Cloud data. Users are able to view and check the size of the Point Cloud files directly online. Through the Point Cloud, users can activate the camera location, thus they are able to view more realistic 360 images and they can measure the elements' sizes. Users are able to delete the Point Cloud data before importing the Point Cloud into Revit models, as well as can hinder the computing power.
How to start the Point Cloud by using Revit
To start the Point Cloud project with the help of the Revit software, several steps need to be followed these are:
Setting coordinates for the Recap file
This is the first step in which the point cloud file is indexed in the Revit project. Users have to position the file, click on the open button to link with the current version of the point cloud and has to click on the start indexing option. After completing the indexing procedure, the user has to click on the close button.
Creating levels
Users can create levels after inserting the point cloud into the Revit model. Users can go to the Elevation view to see the level, click on the section tab and create different sections. After that, users have to go to the Architecture tab and click levels on the ribbon, thus new levels can be set.
Creating floor plans
Users have to click on the tile tool in the View tab, which helps to see the floor plan as well as a 3D view of the point cloud.
Identifying the services that going to be modeled
The Revit software has the ability to detect geometry from the point cloud, which allows the users to add building elements into Revit designs, including doors, windows and others.
Matching the size of the service in elevation and plan
Users can go to the interior point cloud data as well as can also measure it. Users can also use the Lgs file, which can be opened and explored around the point cloud. Thus, users can take measurements of things that they want to add to the elevation and plan.
Creating families
Users have to select the correct category or choose the best possible view for the creation of the families, including windows, ceilings, doors, or walls. These families can be imported from the library included in the installation of Revit.
The process of reloading the Point Cloud to the Revit model
The reloading of the Point Cloud files to the Revit model has been done by following several procedures, which are:
➢ Users first have to go to the manage or insert tab and has to select the “Manage Links”.
➢ After that, users have to select the "Point Cloud" tab.
➢ Users have to select a point cloud, select "Reload From" on the lower left, and select .rcs files.
➢ Users have to ensure that they reload the point cloud with the same name.
Insert a Point Cloud File into Revit software
For inserting the Point Cloud file into the Revit software, users have to follow several processes, which are:
➢ At first, users have to open the Revit project.
➢ After opening the Revit project, users have to click on the Insert tab link panel.
➢ The next step is specifying the file or files to link. In this context, users have to navigate to the location of that file for the Look in. Users have to select the Point Cloud Project option and have to pick an indexed point cloud project file along with the .rcp extension. This .rcp extension is the aggregation of multiple .rcp point cloud files. This helps to launch the indexer application which helps to convert the raw file to the indexed file.
➢ For giving the file name, users have to choose or specify the name of the file.
➢ The next step is positioning the file. In this regard, users have to select one of the options from Auto-Center to Center, Auto-Origin to Origin, Auto-By Shared Coordinates, or Auto-Origin to Last Placed.
To get online demonstration, watch the following video tutorial.
Video Source: Repro Products
➢ After choosing the right option for positioning the Point Cloud file, the file has been inserted successfully into the Revit model.

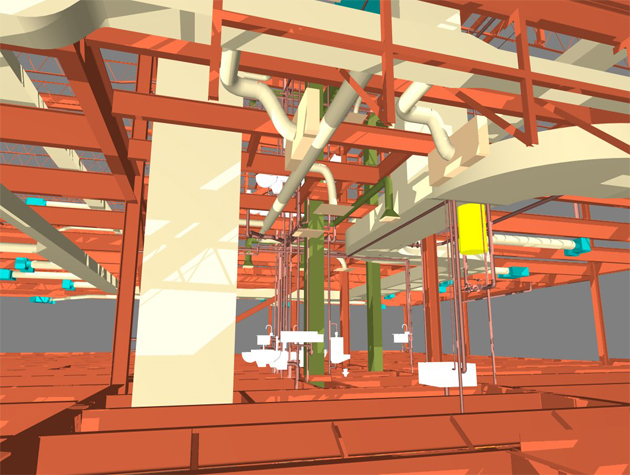
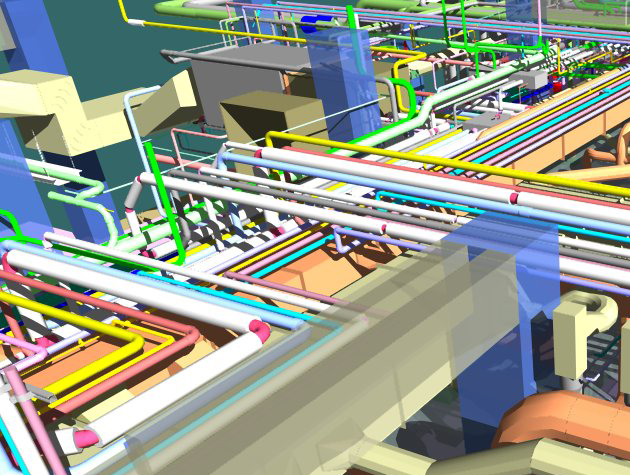
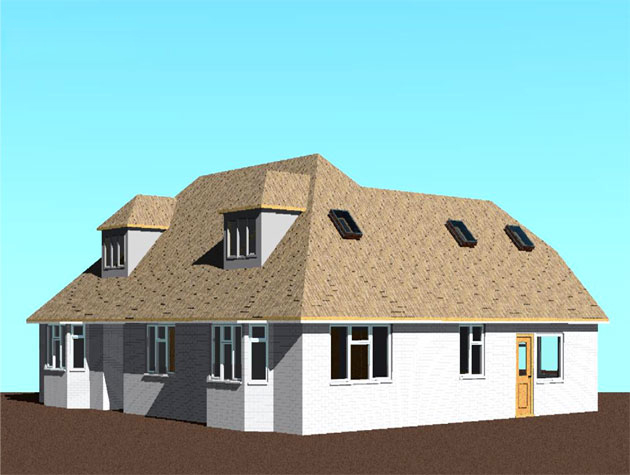
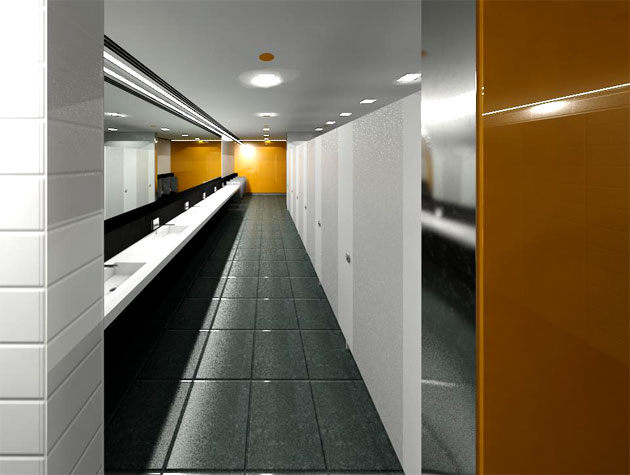
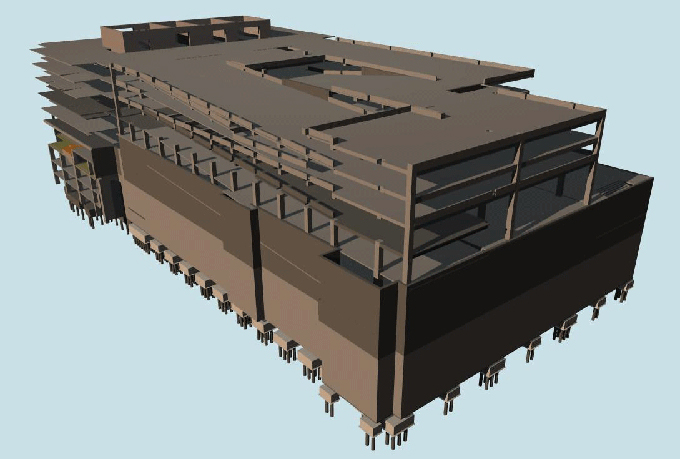
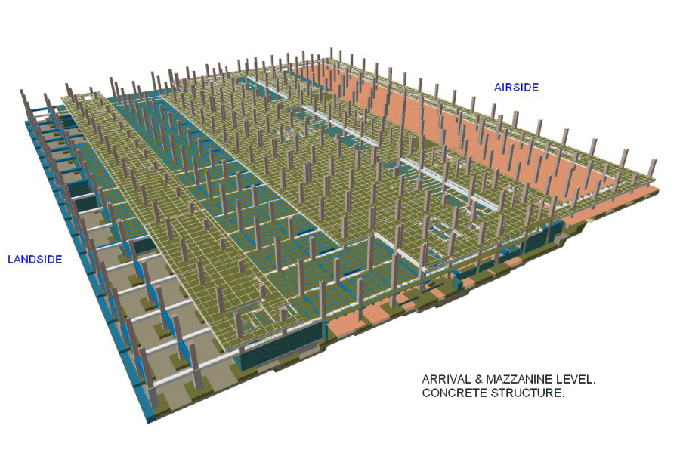
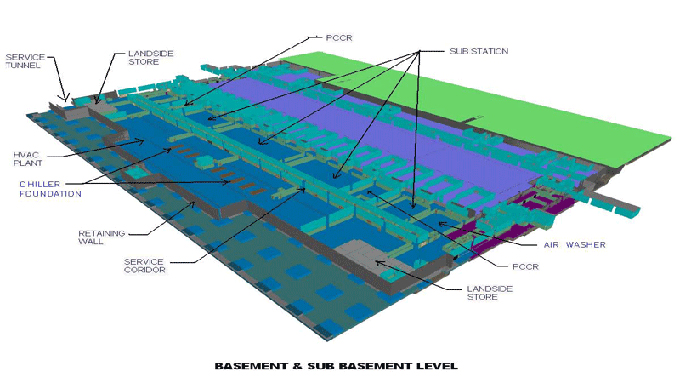
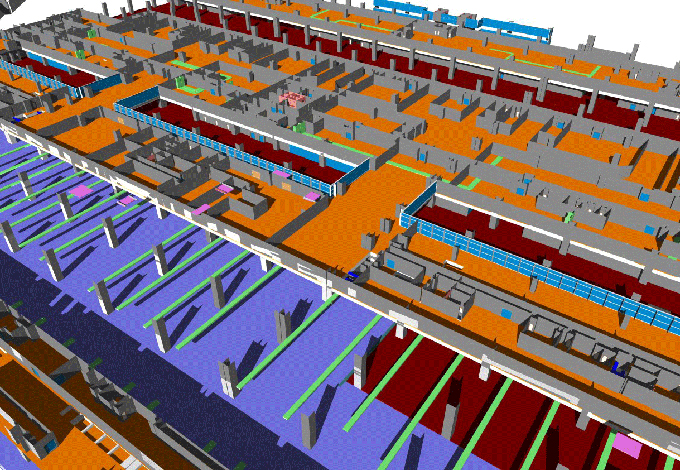
Gallery
Feel free to contact us for BIM requirements. One of our representative will respond you within 24 Hours. Send us your projects requirement today and grow your project.
Explore More !