Revit to Advance Steel Collaboration
Tweet
We are regularly asked, How is a model exported from Revit and imported in Advance Steel 2016? Today, we will perceive how to do this.
Our article is about the work process among Revit and Advance Steel for the exchange of basic steel and steel associations.
During this class we will take a gander at the different alternatives and settings engaged with this procedure and inspect the settings required for the various techniques.
We likewise took a gander at the communication with associations and the new steel shape design in Revit, including how this is moved into Advance Steel with the steel creation components, collaborations with materials and Advance Steel associations.
With the 2019 variants of the Revit and Advance steel programming, we see a genuine advance forward in obvious collaboration between the stages to help collaboration from plan to specifying and into manufacture.
Let's jump into the process of exporting from revit and importing in Advance Steel.
First, you have to Create a model in Autodesk Revit Structure or Autodesk Revit Architecture. To export this model in the Advance Steel internal format with .smlx extension, you need to install the Advance Steel 2016 Extension on Revit.
To export the model from Revit
1. Access the Export command.
2. Select one among the appropriate export options:
a. Advance export - exports the model as a SMLX format, used for import in Advance Steel.
b. Other formats - option to select from SNDF 2.0, SDNF 3.0, CIS2, IFC and PSS formats.
c. Country Library - filters the automatic section mapping to a specific country library.
d. Click OK.
3. In the Save As dialog box select the location where you want to save the exported file.
If none of the elements are selected then the entire model is exported. If some elements are selected, a confirmation dialog box appears.
Clicking Yes, will export only the selected elements. If you want to export the entire model, click No.
A log file is created automatically and stored in a Temp folder, for example "C:\Users\Name\AppData\Local\Temp". The report contains information about the number of exported elements and lists the elements that cannot be exported.
To import a model in Advance Steel
1. Click Export & Import > Revit > Import. Select file and click ok.
If one of the steel/concrete column or beam sections created in Revit has no corresponding section in Advance Steel, a dialog box appears where a corresponding section can be selected.
Also when the material does not exist in Advance Steel it may be necessary to select a suitable material for the conversion.
Video Source: Graitec Ltd

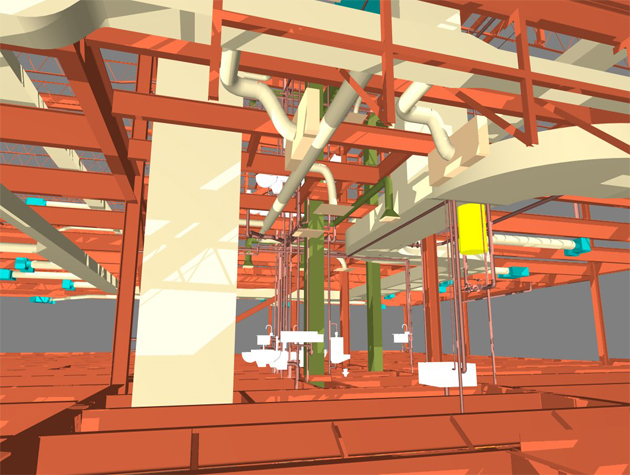
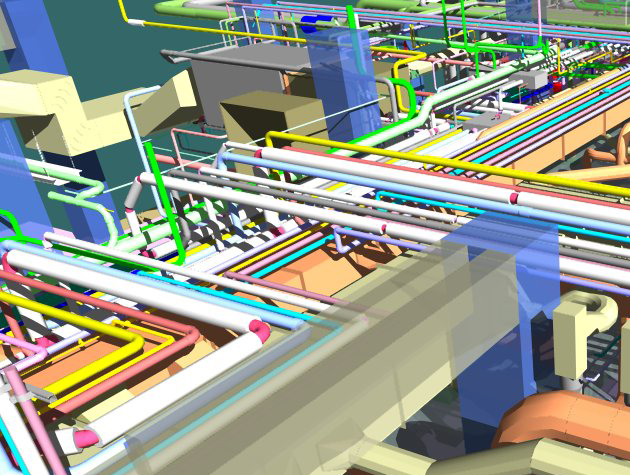
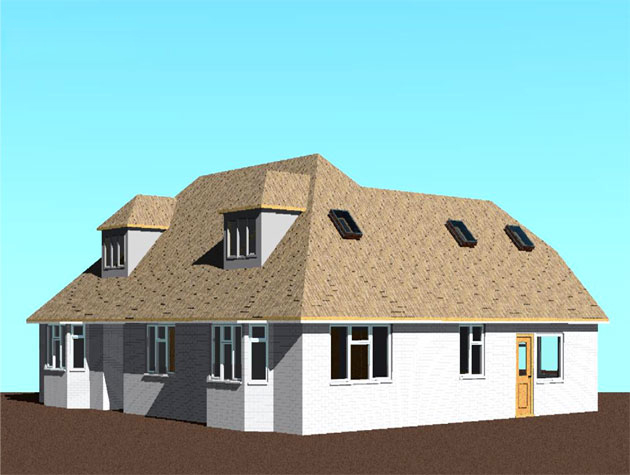
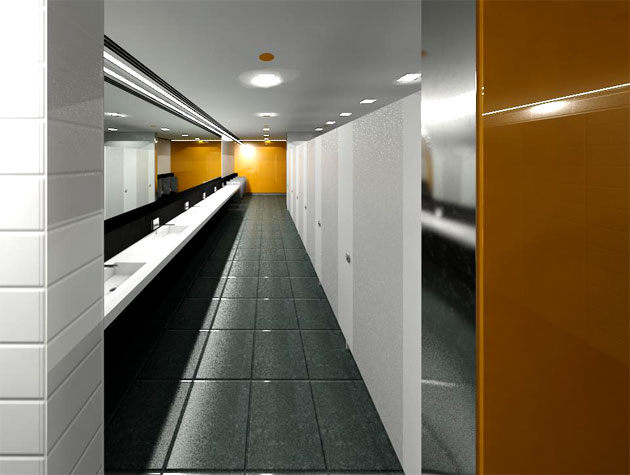
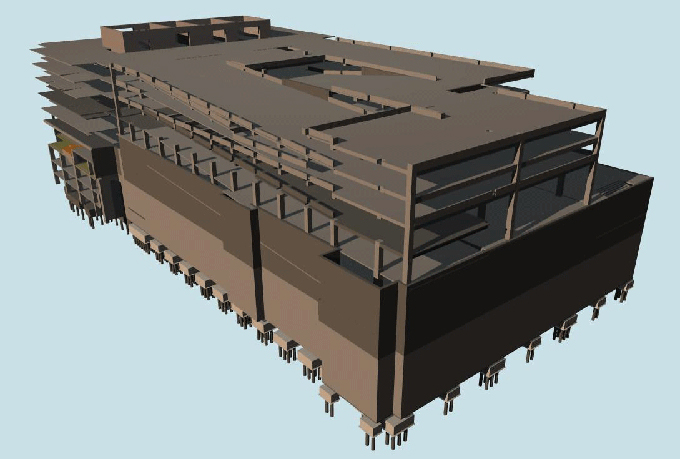
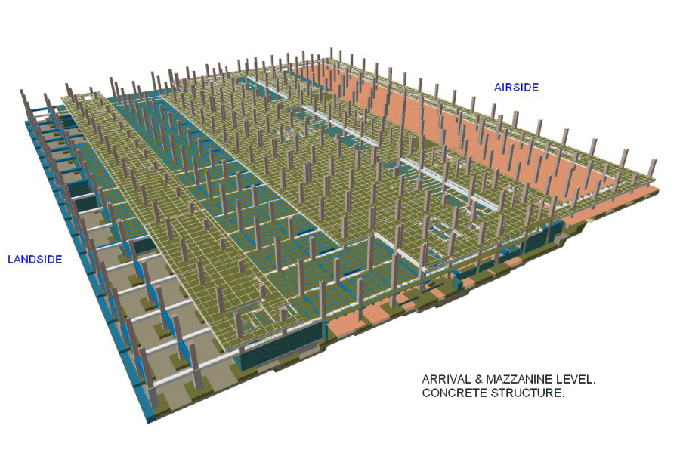
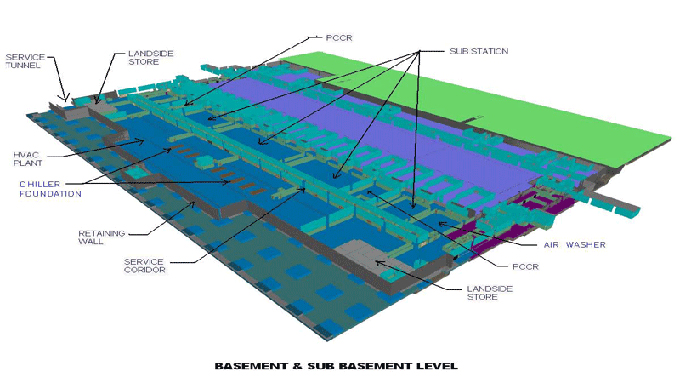
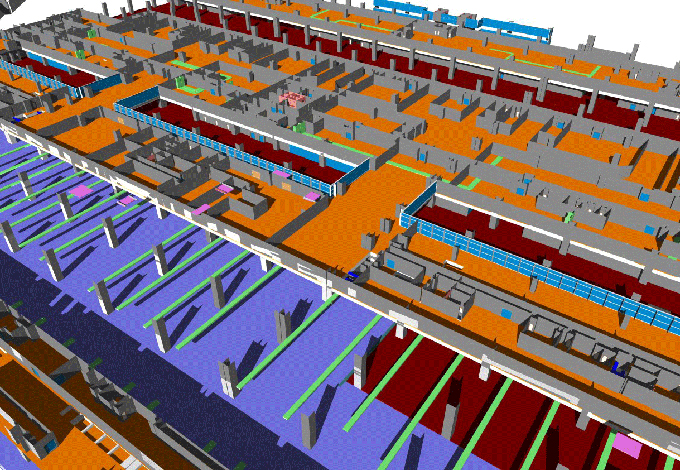
Gallery
Feel free to contact us for BIM requirements. One of our representative will respond you within 24 Hours. Send us your projects requirement today and grow your project.
Explore More !