How to Create Section Views in Revit
Tweet
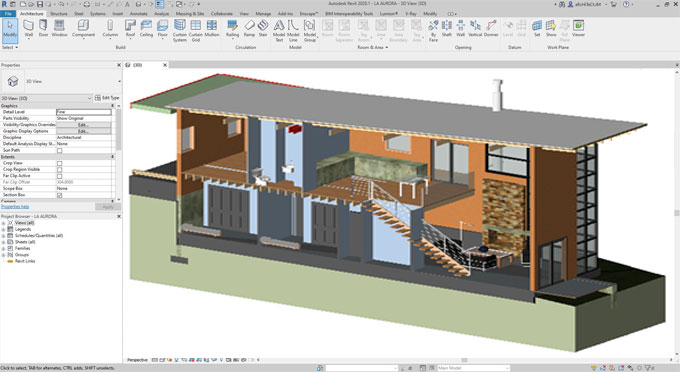
Revit is one of the best architectural BIM softwares ever, and a champion 3D modeling software to boot. The section views in Revit are particularly handy. By creating section views, you can show details about your model and they are particularly useful when documenting the model.
Section views cut through your model, and you can draw them in plan, section, elevation, and detail views. They provide vertical views of specific parts of your model. For example, you can create building, wall, and detail section views.
Where can I find Section Views
Each of these sections are listed in different places of the Project Browser.
1. The Sections (Building Section) branch will list out the building section views.
2. The Sections (Wall section) branch will display the wall section views.
3. The detail views can be found in the Detail Views branch.
Furthermore, you can also create a section view at the far clip plane, and you can also create them in the family editor. Though, that is not available for in-place families.
How to Create a Section View
Section views come out of crop regions combined with section lines. To create a section view, you have to define both of these. Here is how exactly you can create a section view:
Step 1
Open a specific view through which you are supposed to make the section view. It can be a plan, section, elevation, or detail view.
Step 2
Go to View tab, then click on Create Panel. Under the options appearing, click the "Section" button.
Step 3
Select a view type from the list of view types in the Type Selection. Otherwise, you can click Edit Type to make changes to your existing view type. Or you can even create a new view type as well. This step isn't necessary per se ? but could be useful later.
Step 4
Your cursor should now be functioning as a cutter for the section view. Choose where to start the section view, and then drag through the geometry (the model or the family).
One more thing to consider here is that you can snap a section line parallel or perpendicular to a non-orthogonal datum or wall. Meanwhile, if you want to snap to a wall, you can do that in Plan View.
Step 5
Keep dragging the mouse cursor till you reach the end of the section you want. Now the line of the section and region which is being cropped will turn up and get selected. This will be highlighted in blue and will have similar control marks as well.
If we look closer to the section line, we will see the following key components of the section line:
1. Section Reference Head (or marker): The filled arrow on the one side shows you which way the section view is facing.
2. Section Reference Head toggle- click on this repeatedly to toggle through different options with regards the display of the Reference Head.
3. Far-clipping plane: Use this to set the "depth" of the Section View.
4. Width-clipping plane grips: Use these to set the width of the generated section view.
Step 6
You may want to fine tune your selection. In that case, remember the control marks on the previous step? You can grip them with the cursor and drag to resize. You will notice the depth of the section view changing accordingly.
Step 7
When you're done, click Modify or press Esc on the keyboard to exit the Section tool.
Step 8
Your section view is ready! To see it, you can either double click the section header. Alternatively, you can select the section view from the Sections grouping of the Project Browser. This section view will change accordingly as the design changes, or if the section line is moved.
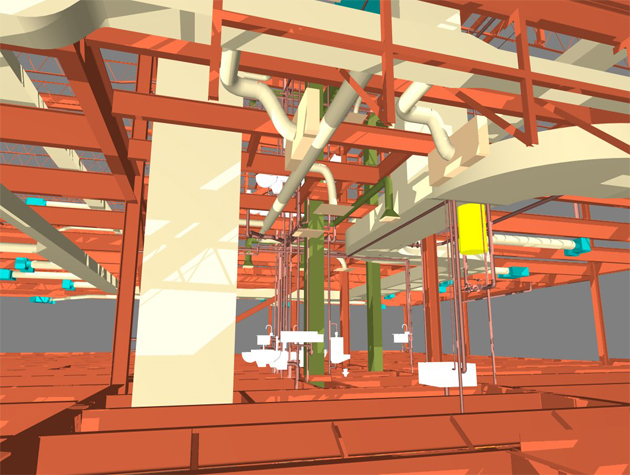
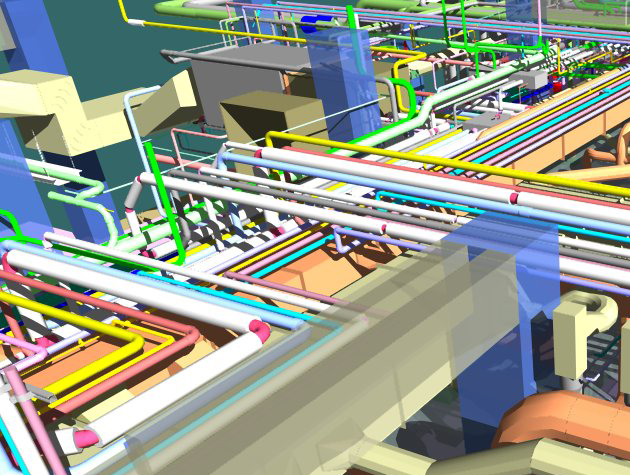
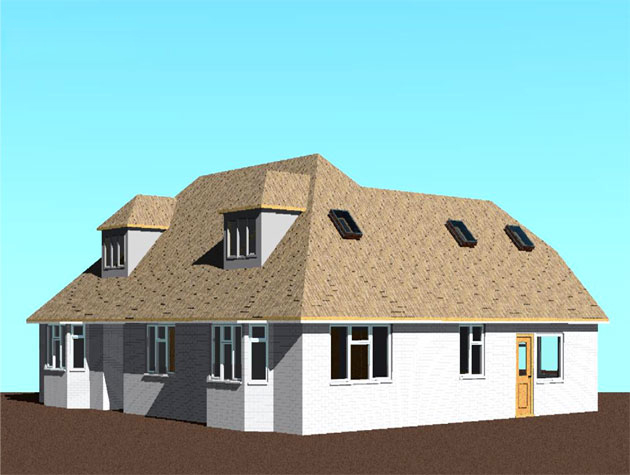
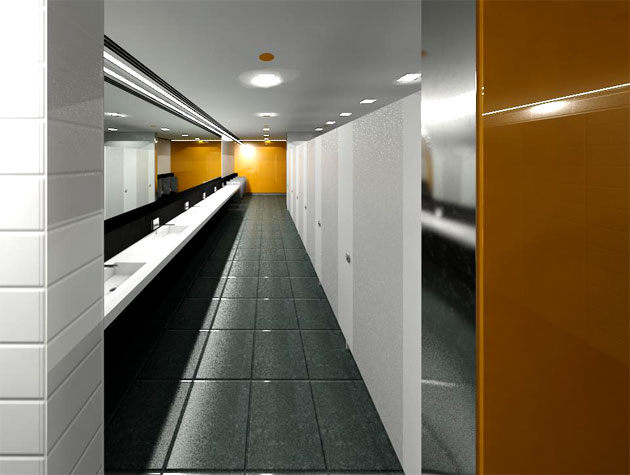
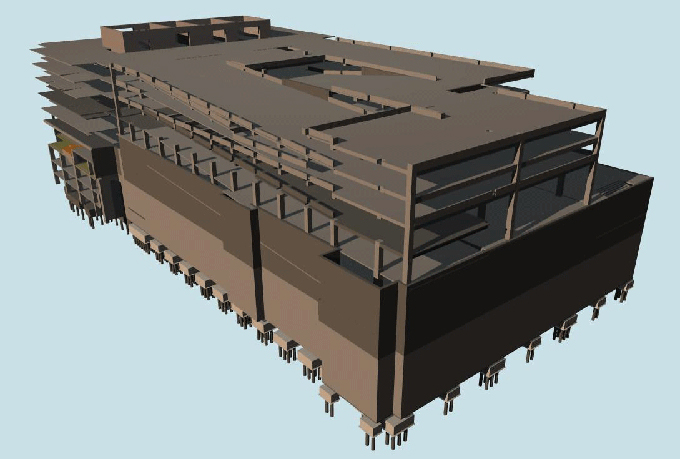
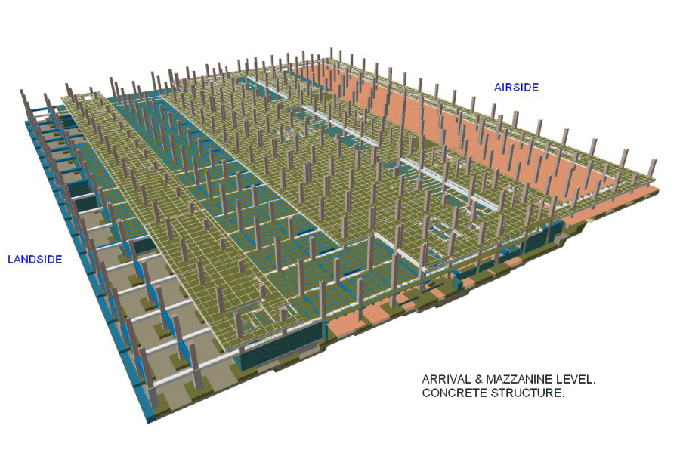
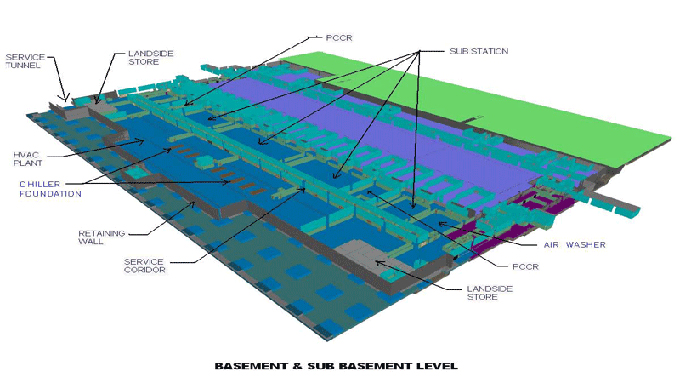
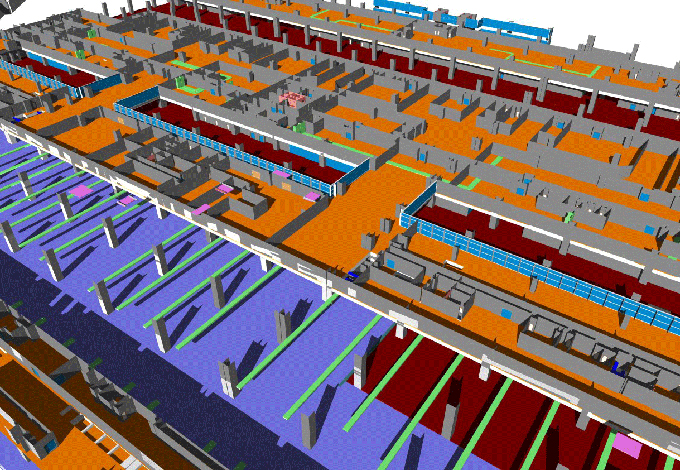
Gallery
Feel free to contact us for BIM requirements. One of our representative will respond you within 24 Hours. Send us your projects requirement today and grow your project.
Explore More !