How to apply a solar design study in Revit

This Revit video tutorial provides detailed information on how to create a solar design study in Revit. The tutorial will be useful for building construction. Solar studies in Revit demonstrate the effect of natural light and shadows on the building model.
It is a very quick and simpler method. Initially, you have to establish what view you prefer to run the solar study. It can range from your Site plan, elevations, default 3D view or an internal camera view. The procedure is identical for all. Once you get your desired view, you should configure the sun settings. Choose the Sun path button on the view control bar along the bottom of the drawing window and opt for �Sun settings� to expose the sun settings dialogue box.
With Solar studies, one will be to visualize the effect of natural light and shadows on the exteriors and interiors of projects.
Apply solar studies to realize how shadows from terrain and adjacent buildings impact a site, or where natural light infiltrates a building at particular times of the day and year.
By providing the effect of natural light and shadows on your project, solar studies produce useful information that can help creating impressive passive solar design.
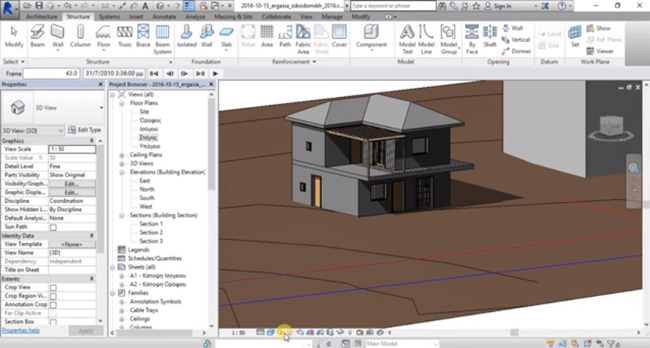
Image Courtesy: youtube.com