Some useful Revit tips on Revit Groups by Justin Taylor

In this Revit article, Justin Taylor, Customer Success Manager for AEC: Graitec, provides some useful Revit tips.
One can arrange common elements repeatedly in a project or family like hotel rooms, apartments or repeating floors by applying groups in Revit.
Every instance of a group, that is already arranged, is connected with each other. As for instance, if a group is formed with a bed, walls, and window and then multiple instances of the group are arranged in your project. While altering a wall in one group, it is adjusted for all instances of that group, thus the modification process becomes simpler.
Groups can be formed without any difficulty with the selection of the model objects and then from the Ribbon, just opt for Create Group. Create the label for the Group, press Enter to complete the job.
The group can then be replicated or positioned by �drag and drop� from the Project Browser> Groups> Model> �Group Name�.
Groups are edited by selecting the placed Group and then from the end of the Ribbon choose Edit Group. Objects are included or eliminated and / or rectified. To save the changes, click on finish. All occurrences of the Group will then repeat the changes caused.
Model Groups will only include model geometry like walls, doors and windows. The annotations to the group can be included in the following ways.
Before forming the Model Group, arrange the necessary annotations (objects which are View dependent). When the Create Model Group dialog box will be visible, you will get clear idea that the full name of the dialog is essentially Create Model Group and Attached Detail Group.
Revit will automatically generate a Detail Group of any annotations chose and apply a default name of Group 1. The name should be changed so as to refer to the Model Group name.
To read the complete article, go through the following link www.graitec.co.uk
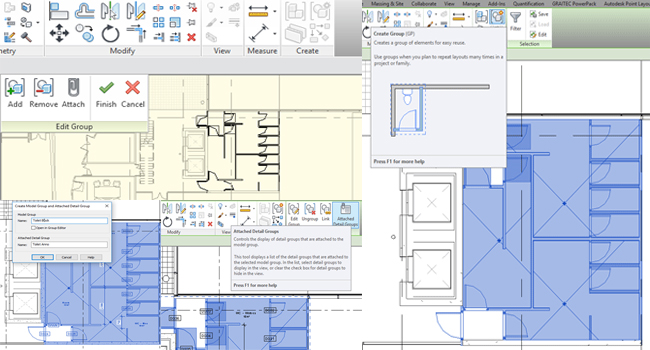
Image Courtesy: graitec.co.uk