Top 8 Autodesk Revit Tips and Shortcuts
Tweet
Learning these 8 top tips and shortcuts can make meeting project deadlines ten times easier and more effective.
1. How to stop Unplanned Clicks
Unplanned double-clicks on a module family can mess up the moment by taking you straight to the family editor. You can either reduce your mouse clicking speed or regulate the Revit settings to do your thing as you say. Go to the User Interface tab inside the Revit Options menu, ?modify? the Double-click Options for families and select your preferred option:
A. Edit Type
B. Do Nothing
C. Edit Family
2. Don?t look into Free Stuff
Adding in components that work with your BIM (building information modeling ) drawings should be Easy, but try to use these new components from manufacturers and other sources that don't understand your job and expecting them work all is insane. It sounds great until you realize.
A. They aren't all written with the same standards and you spend 20 hours reworking it all at the last minute.
B. They do play dreadful together.
C. They are not planned to be repurposed, locking you into something that may wrong.
Valuable Tip: Such independent trusted resources as Revit Works bring all Revit users a huge variety of families and libraries that try not to promote any exacting product or producer. They are designed specifically for the user who proves to work on ready-to-use upon purchase their products that are usually a good fit for various requirements. These are also consistently setup for re-purposed easily.
Revit Work families and libraries are reasonable, instinctive, and easy-to-use and increase the efficiency of the output. Architects, Engineers, BIM managers and consultants, as well as documenters, give Revit Works their best reviews.
3. Selecting Objects Smartly
It is not difficult to select objects you didn?t mean to, especially when doing a window or cross selection with your mouse. These tools are available for you with a handy position down on the bottom-right hand of your screen:
Select Links: Turn off! Once your link is in position, turn off so you cannot select any the link by mistake.
Helpful Tip: Remember to pin the Link as well or else you can still move it using the align command.
Select Underlay: Turn off! Apart from for the odd circumstance where you actually want to shift an underlay element.
Select Pinned Elements: Turn Off! Apart from where you actually do not want to pin the element or explore its properties.
Filter: once using your mouse to select by window or crossing, always use the filter button to make sure that you have erroneously selected elements you were expecting to. You have to filter them out.
4. Drag Elements on Selection must be turn off
Having drag elements on is extremely dangerous; it makes too easy to move elements by mistake, particularly when you are using your mouse to do a window selection.
5. Get Familiar with Keyboard Shortcuts
Keyboard Shortcuts are the fastest way of commanding Revit what you like to do. You either learn the Revit default ones or setup your own. You can get to it from Options ?User Interface? tab or the ?View? ribbon ?User Interface? pull down in Revit.
Useful Tip: If you want to find your command name quickly then you have to assign a shortcut to it, hover over the pertinent command icon on the ribbon, it's ?Revit? name is showed in the tool-tip. After that you can easily search for it within the Keyboard shortcut dialog.
6. Advantage of Taking the Object Snap Shortcuts
You utilize
E - (Endpoint)
I - (Intersection)
M - (Midpoint)
C - (Center)
T - (Tangent)
etc...
7. Learn the constraints for greater use
In Revit, You can command Revit put constraints on elements within your model and tell other team members about relationships between maintained elements.
However, these relationships are not easy to visualize, particularly for other team members who didn?t construct them in the first place. You have not get warning or error message by telling you that the constraints aren?t satisfied or you can?t make a certain modification .Using the ?Reveal Constraints? demonstrate mode ? situated on the View Control Bar at the bottom of each view - allows you to picture clearly what constraints are in the Revit model.
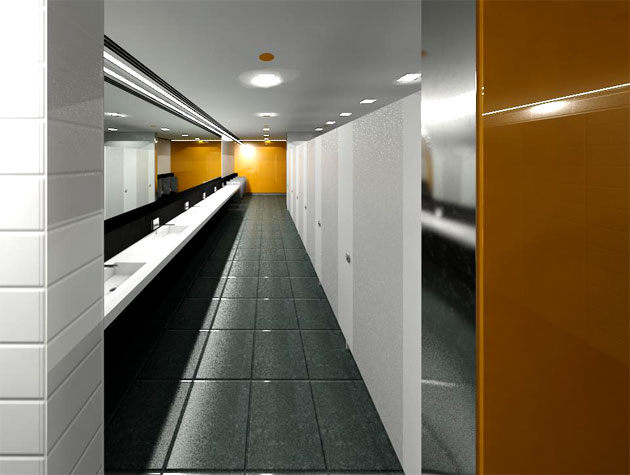
8. Cool Rendering Technology to Use
Rendering technology and resources is going fast. If you can do today in minutes would take hours, if not days as recently as 5 years ago. Keep up and use it of the technology.
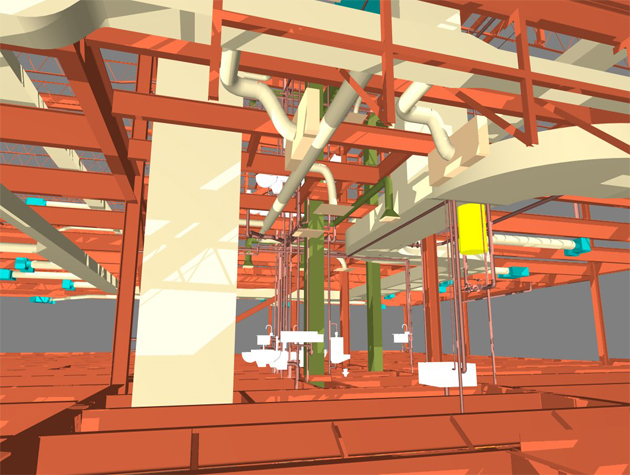
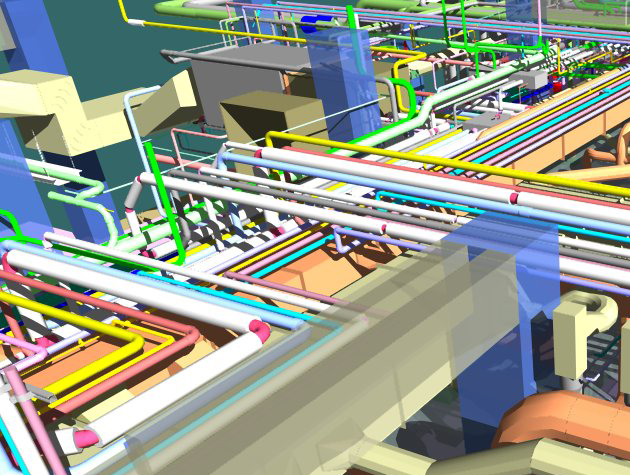
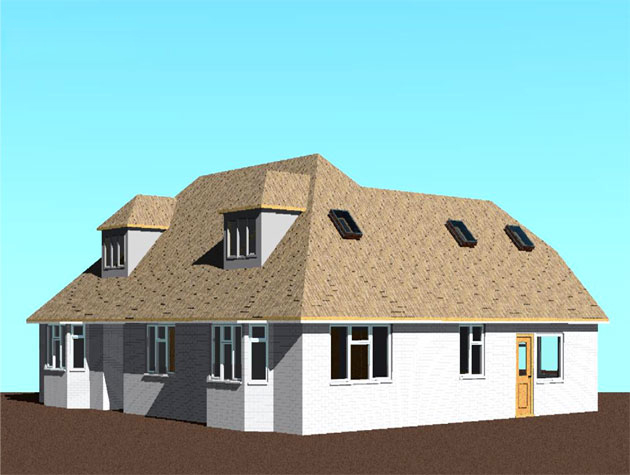
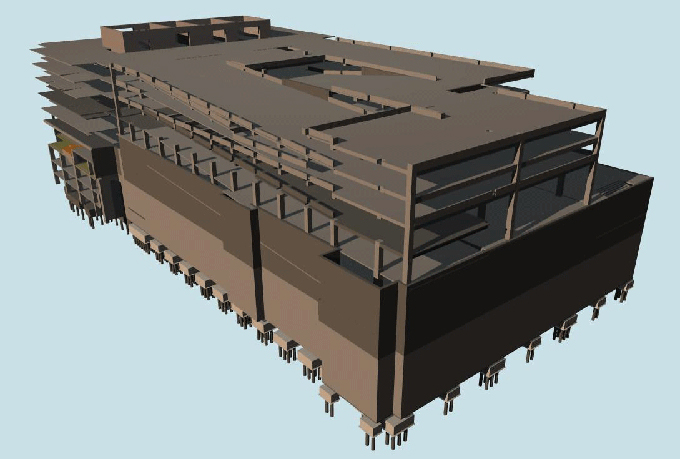
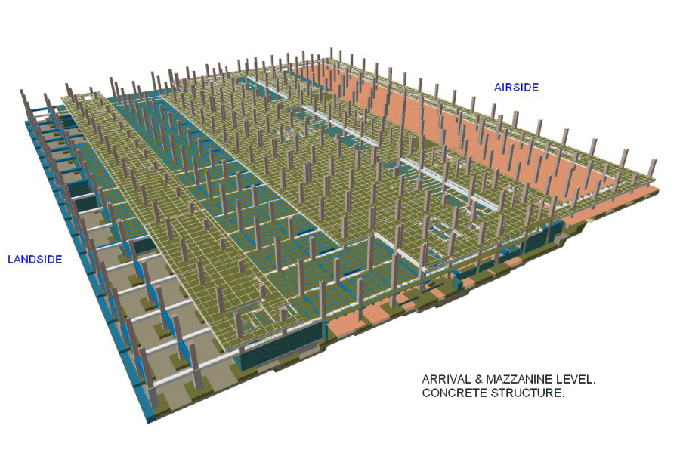
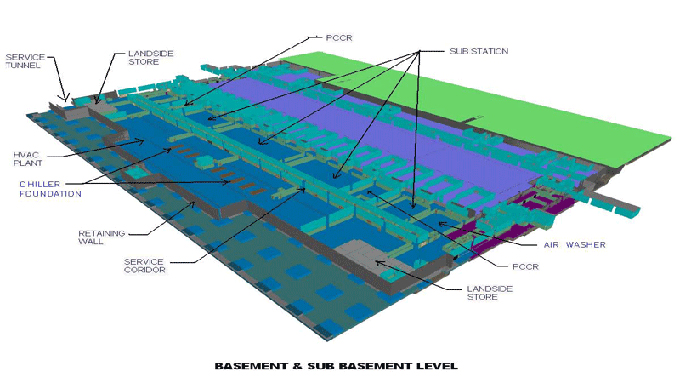
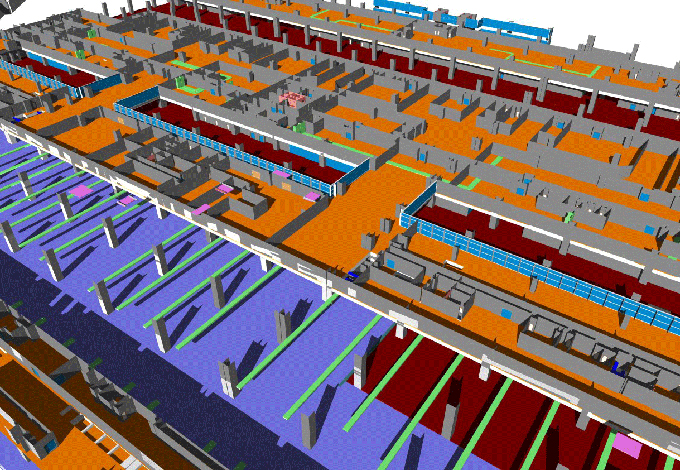
Gallery
Feel free to contact us for BIM requirements. One of our representative will respond you within 24 Hours. Send us your projects requirement today and grow your project.
Explore More !