Improving Workflow in 3DS Max
As a planner, you approach a few digital design bundles. Choosing the correct one for the activity is essential. One of the most famous is 3DS Max. It offers a variety of highlights for building design. The product consolidates simple and adaptable model creation with brilliant rendering and continuous showcase alternatives.
This settles on the product of decision for some engineers. Notwithstanding, even the individuals who have utilized it for quite a long time may not have a clue about the entirety of the stunts for benefiting from it. Here are some valuable tips that can help you when utilizing 3DS Max.
The more intricate an element turns into, the more elements it will contain. This presents an issue with regards to naming. Numerous individuals name their elements dependent on their shape.
This can get befuddling in models that utilize a similar shape a great deal. Rather, you should give sensible names to your elements. For instance, give all elements in a divider a similar tag, for example, "North Wall". This makes them simpler to recognize than if you had marked them as "3D shape" or "Circle".
Indeed, even with coherent naming, it can turn out to be difficult to explore through your elements with enormous models. This is the place grouping can help. It is acceptable practice to bring the entirety of your individual elements for a segment of the model together. Suppose you have displayed a flight of stairs.
Grouping each element, from the steps through to the dividers and scene adornment, makes the zone simpler to get to. Further, you can utilize occurrences to deal with duplicates of a similar element. Doing this implies a solitary change to one element in an occasion gets reflected over the entirety of the elements in that occurrence.
Attempting to take a shot at single elements in complex models presents a lot of challenges. Two or three oversights of the mouse and you have a couple of errors to fix. It is anything but a tremendous issue however it can sit around.
There is a simpler method to do it. You can isolate an element so you can chip away at it without the interruptions of the remainder of the model. Right click on the element and select "Isolate". This conceals each other piece of the model.
Numerous modelers utilizing digital design programming battle to enable their customers to imagine the scene. You could have the best model on the planet however it amounts to nothing if the customer can't make sense of how it will glance in reality. This is the place the "Populate" work proves to be useful.
You can utilize it to fill your models and scenes with virtual individuals from the 3DS Max library. These individuals even accompany liveliness for inert standing and strolling. Populate is perfect for models that will have individuals when constructed, for example, library structures.
The 2017 form of 3DS Max has a couple of new ideas for you to get to hold with. It offers some assistance with the "Design Workspace" include. This makes a design format that shows all of you of the nuts and bolts of the product. It acquaints you with the primary ideas and new apparatuses.
Further, it makes you make sense of how to make a 3DS Max work process. Generally, it will acquaint you with the product's UI and make you progressively proficient. Take as much time as is needed to experience it, regardless of whether you have utilized 3DS Max previously.
More up to date forms of 3DS Max offer a few preset bevels for use in your models. You can discover them in the preset choices in the product's content apparatus. These permit you to work legitimately with the bevel profile modifier by means of a dropdown. Utilizing presets is perfect for making straightforward bevels. This will spare you a lot of time when chipping away at your models. Obviously, you can in any case make your own bevels in the event that you like.
3DS Max contains a decent rendering motor. All things considered, many like to utilize different motors. One of the most widely recognized is V-Ray, yet there are a few others that work with 3DS Max.
The key here is that you have to consider your scene materials when utilizing another rendering motor. Guarantee that you upgrade the materials for legitimate presentation in the motor. In the event that you don't, you may find that you end up with peculiar lighting impacts and element conduct when you come to render.
Another new component for the 2017 form of 3DS Max is the "Sun Positioning" device. You can discover this instrument in the lighting menu. It permits you to set the situation of the sun and make changes to the sky around your model. You can even set occasions, dates, and areas. This is perfect when working from photos of an area as it permits you to copy the lighting conditions precisely. You can likewise show how light will influence the structure at different times.
Did you realize that you can toggle lighting impacts immediately when taking a shot at your model? It's actual. Use Ctrl + L to toggle the lighting on and off very quickly. This may not appear to be a serious deal. In any case, when you consider that you for the most part need to explore through two or three menus to toggle lights physically you can see where it can spare a great deal of time.
Authenticity is key when making renders for customers. This implies you have to utilize shadows in your models. When in doubt, utilize delicate shadows over hard ones. The last gives the model a less sensible look. Use Omni lights to cast light from a solitary source every which way. Further, utilize Mental Ray to make "Raytraced" shadows. As an aside, you should empower zone shadows in Omni/Spot when utilizing V-Ray to render the model. The render will take additional time, however it will look increasingly reasonable.

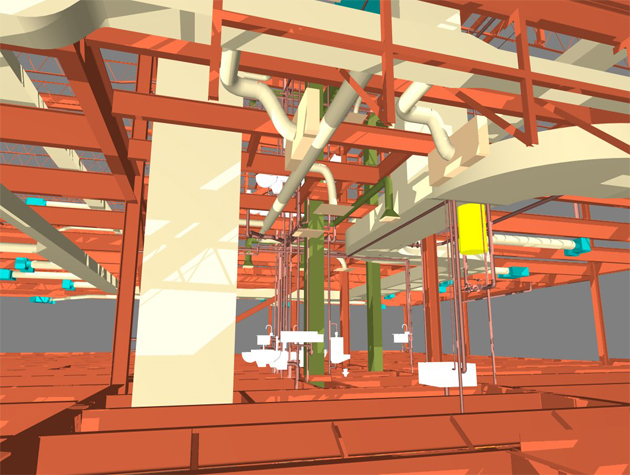
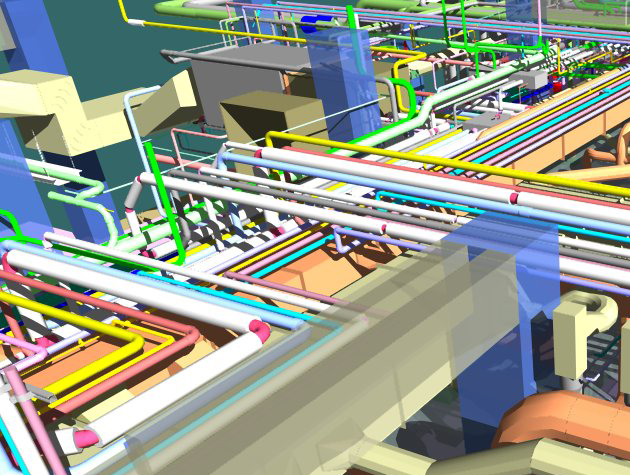
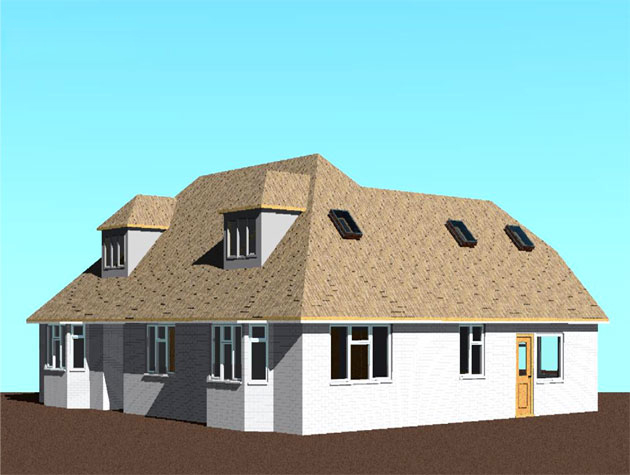
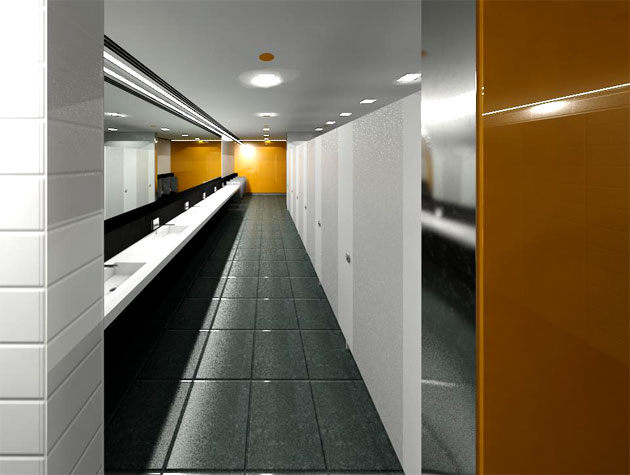
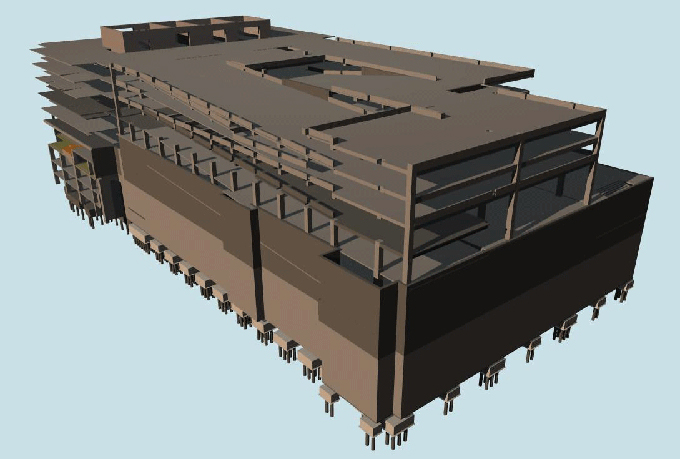
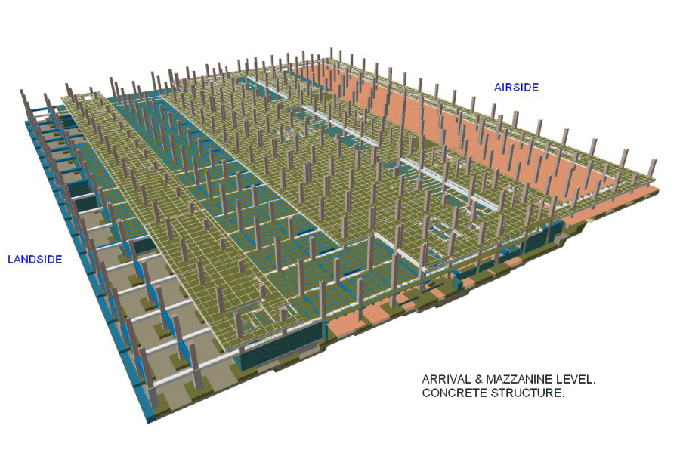
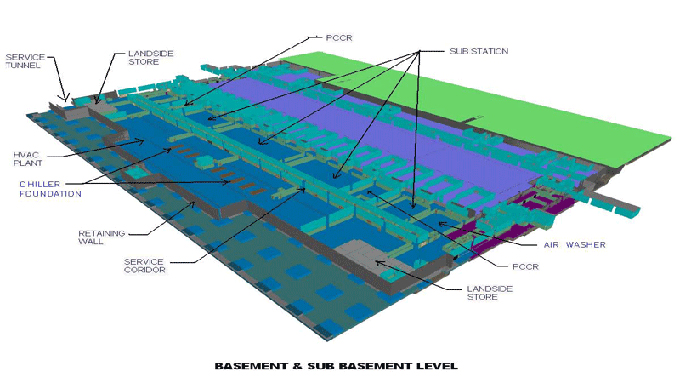
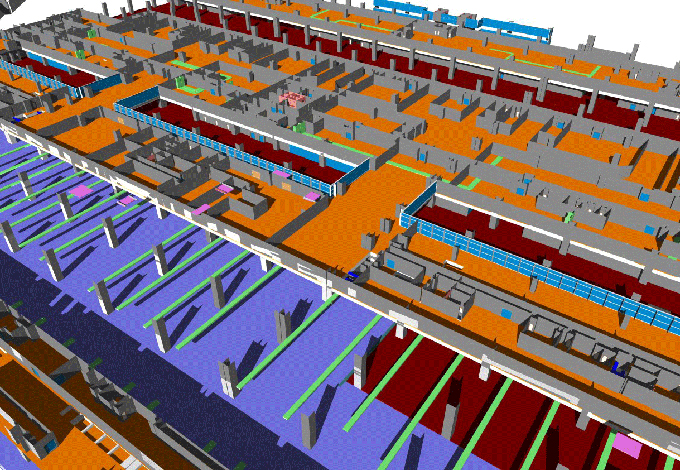
Gallery
Feel free to contact us for BIM requirements. One of our representative will respond you within 24 Hours. Send us your projects requirement today and grow your project.
Explore More !