Top 5 Ways to Use Design Options in Revit
Customers like to have a decision. Regularly we have to give a few design options for the customer to consider and settle on. That is incredible for the customer, however additional work for us! In the event that we were utilizing AutoCAD, we could simply duplicate the design and modify it as we have to. In any case, in Revit, you can't generally 'duplicate' and change the model except if you need to make another document (which would be an agony!).
Fortunate for us, Revit Design Options is an element which is truly amazing. A great deal of clients get somewhat mistook for design options, however they are truly direct once you get the hang of them. In this post we will attempt to clarify Revit Design Options with a genuine model.
A design choice set is an assortment of potential answers for a specific design issue. Each design alternative set contains one essential choice and at least one auxiliary option. For instance, you can make one design choice set to show various designs for the section of a structure. You can make another design choice set for elective rooftop arrangements. Each design alternative set contains one essential choice and at least one auxiliary option.
To make a design alternative set , do the following. Click Manage tab > Design Options panel (Design Options). In the Design Options dialog, under Option Set, click New. Naturally, Revit names the new set Option Set 1 and makes an essential choice in the set.
To rename the alternative set, select the choice set name, and under Option Set, click Rename. Enter a name, and click OK. To rename the essential alternative, select its name, and under Option, click Rename. Enter a name, and click OK. Click Close.
Presently you can alter the essential design choice to add components to it, and make auxiliary options for the design alternative set. See Edit for a design alternative and Add at least one auxiliary design option.
As a matter of course, venture views show the principle model with the essential alternative for each set. On the off chance that you need venture views to show the primary model just, with no design options, see Viewing the Main Model Without Design Options. To see a rundown of design choice sets and design options characterized for an undertaking, click the Design Options drop-down rundown on the status bar.
Design options are model varieties that you can present to a customer. The elective designs are available from a solitary model. Make choice sets and afterward add options to the sets.
In a model, click Design Options. In the dialog box, click New under Option Sets. Click Option Set 1 and rename it (for instance, "Front Entry"). Click Option 1 in that set and rename it (for instance, "More affordable Option"). Select the piece of the model (for instance, the front dividers) to add to an alternative set, and click Add To Set.
Presently make your varieties in the model. In the Active Design Option drop-down, pick an alternative. Alter the model. At the point when you finish, pick the Main Model in the Active Design Option drop-down.
To add your options to the Project Browser, right-click the applicable view and select Duplicate View > Duplicate; at that point rename the view (for instance, "More affordable Entry"). Type VG for Visibility Graphics. In the dialog box, click the Design Options tab, and change the settings in the Design Option segment. After your customer settles on a decision, make the picked choice the principle model by utilizing Accept Primary in the Design Options dialog box.
One thing that you will consistently have during design: to have design options or design options. Each undertaking proprietor and each designer will need to see a few other options. How the structure will look like in plan, segment, and 3D model.
So how do we do that in Revit? Do we need to spare our design to another document and alter the changes? No we don't! Revit has a component precisely for this reason: Design Options. You can discover design choice on Revit strip, manage tab, design options sheet.
Before you utilize the design options, you will see all the buttons grayed and handicapped. Aside from the design choice button. Click the design alternative button, and you will see a dialog box opened. On the correct hand side of the dialog, you will see 3 gatherings of buttons.
The first is to pick which choice you need to alter. You have to characterize the alternative set first. The subsequent gathering manages the choice set. Alternative set is utilized to manage which zone you need to have the options. You can manage the options for the entrance zone, options for the meeting room, alternative for storeroom territory etc. in a discrete choice set. You can make a new choice set, rename it, acknowledge it as essential, or erase the alternative set.
Click the new button in choice set gathering. You will see 'choice set 1' and 'choice 1 (essential)' as a kid in the alternative tree. Select 'choice set 1' from the tree, at that point click the rename button in alternative set gathering. Rename it to 'building passage'.
And afterward select alternative 1 (essential), click the rename button in choice gathering. Rename it to 'stacked passage'. Include new choices and rename it to 'angled passageway'. Presently we have one alternative set, and in that choice set we have two options. Select the essential alternative, at that point click alter chose in alter gathering. Close the dialog.
Presently you will see the arrangement turned gray out and you can't choose the components in the drawing. This is on the grounds that the dynamic set presently is the 'stacked passage' choice.
Revit Design Options are an extraordinary method to make and view various options inside a Revit Model. It very well may be somewhat confounding, however the principle things to recollect are as follows.
To add Model components to an alternative, select the elements > Click on the Manage Tab > Then click Add to Set You can just choose and alter components that have a place with the Active Design Option. You can control which Design Options you find in each view by utilizing Visibility Graphics.
Video Source: TheRevitKid

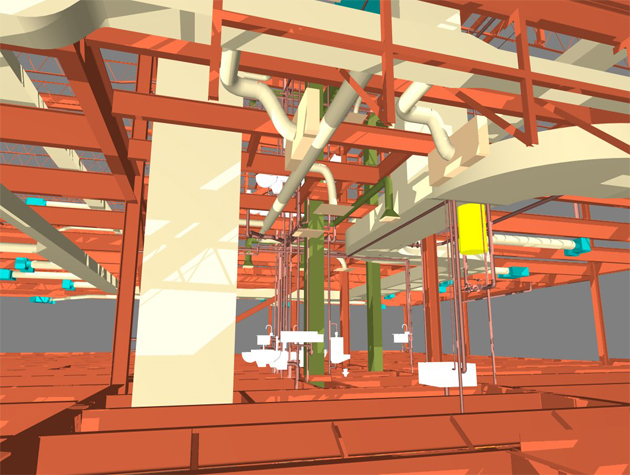
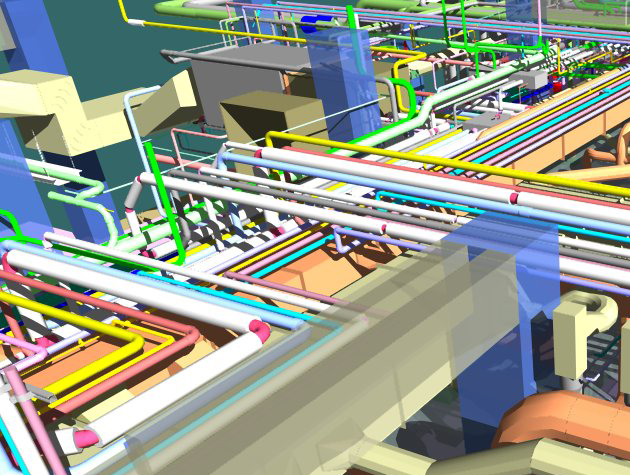
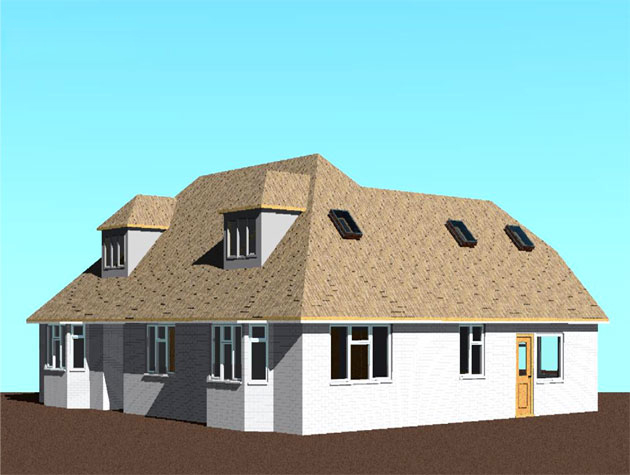
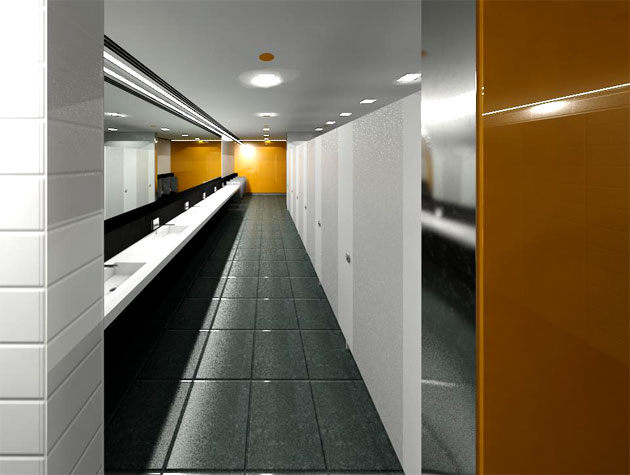
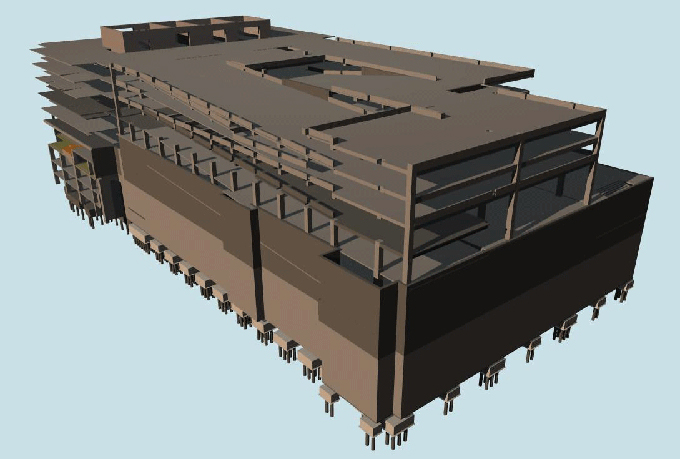
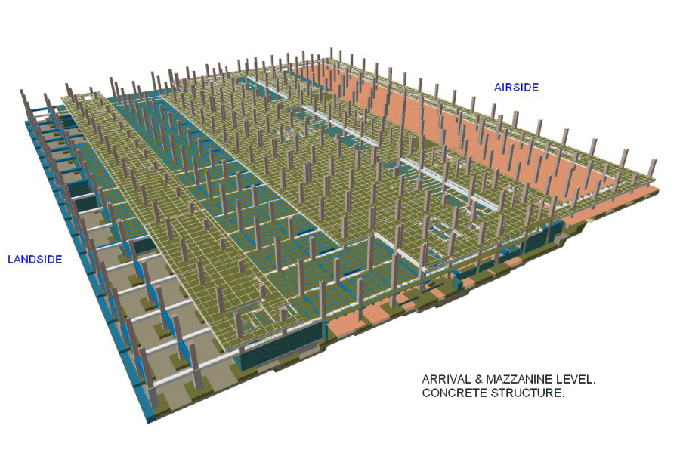
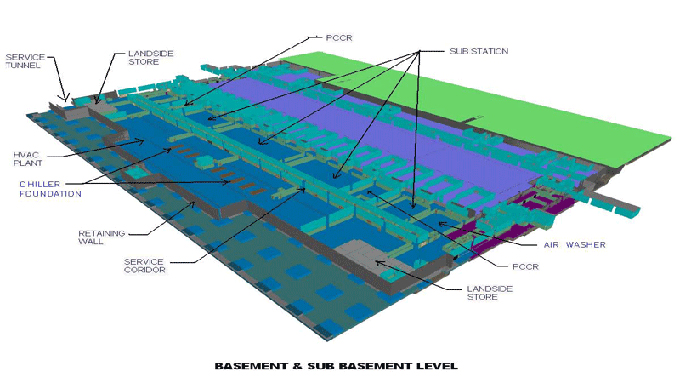
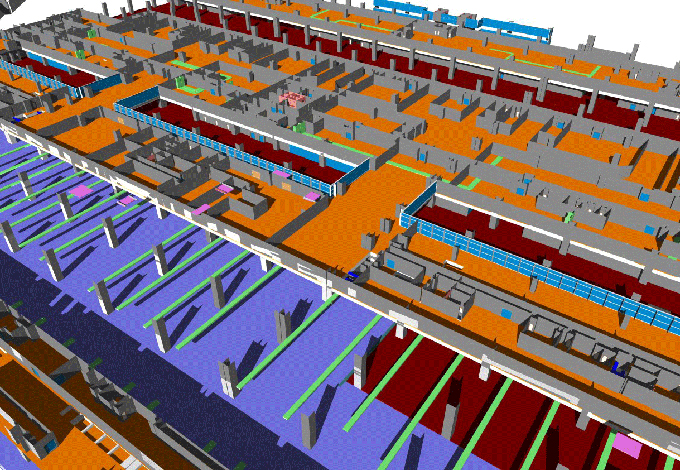
Gallery
Feel free to contact us for BIM requirements. One of our representative will respond you within 24 Hours. Send us your projects requirement today and grow your project.
Explore More !